Wood ear mushrooms (Auricularia species) are one of the more forgiving specialty mushrooms you can grow at home. They fruit reliably on hardwood logs outdoors or on sawdust-based substrate bags indoors, they tolerate a wider temperature window than a lot of other species, and once you dial in humidity and fresh air exchange, they produce generously. Expect your first harvest somewhere between 3 and 5 months from inoculation on logs, or as fast as 6 to 8 weeks on indoor sawdust bags. Here is exactly how to get there.
How to Grow Wood Ear Mushrooms at Home Step by Step

Marcus Holloway
1 May 2026
What wood ear mushrooms actually are (and what you need to get started)
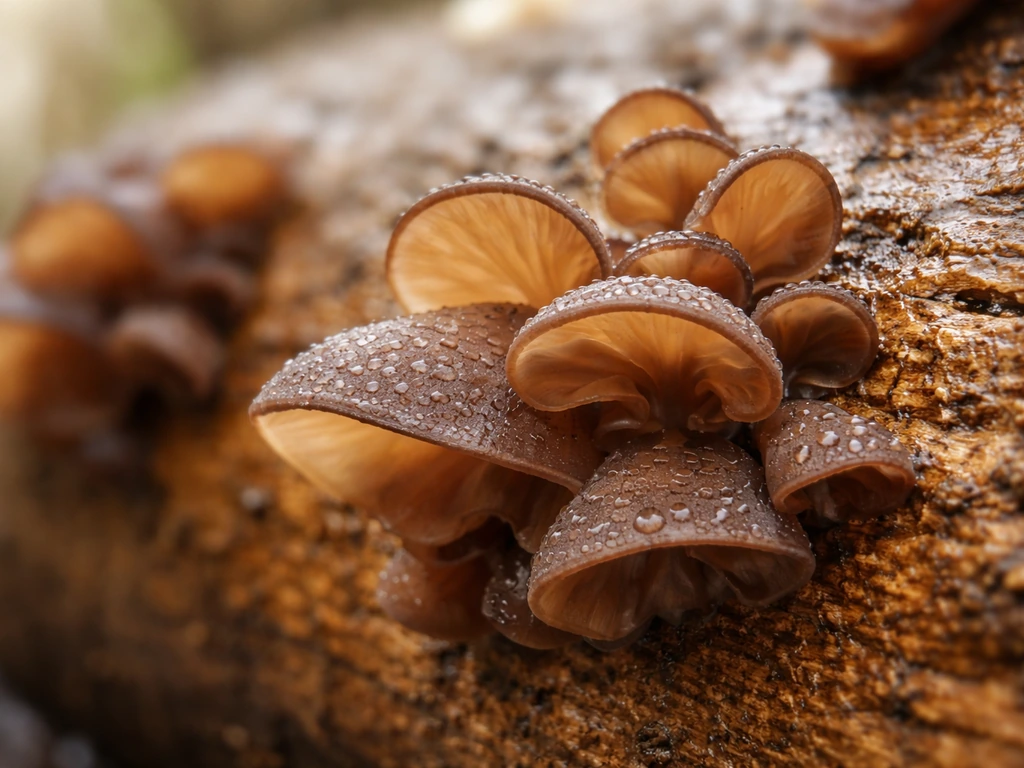
Wood ear is the catch-all name for several closely related Auricularia species. The one most people encounter in dried form at Asian grocery stores is Auricularia heimuer, the black wood ear, which is also the most widely cultivated variety. Auricularia auricula-judae, sometimes called jelly ear, is a close relative that grows wild across Europe and North America, often on elder wood. Both produce the same thin, rubbery, gelatinous, ear-shaped fruit bodies that dry hard and brittle, rehydrate beautifully, and are prized for texture rather than strong flavor. When you see a recipe calling for 'wood ear' or 'black fungus,' these are the mushrooms being described.
Species identity matters here more than most beginners expect. A. heimuer prefers warmer fruiting temperatures (23 to 28°C / 73 to 82°F), while A. auricula-judae strains with a northern origin can fruit closer to 10 to 15°C (50 to 59°F).
For Auricularia auricula-judae liquid culture listings, the temperature range is 15, 22°C, with an optimum around 18, 20°C A. auricula-judae strains with a northern origin can fruit closer to 10 to 15°C.
When you buy spawn or dowels, confirm what species and strain you are getting, because the environmental targets you need to hit are different. For most home growers in North America and Europe going the indoor bag route, A. heimuer spawn is the most commonly available and works well at typical room temperatures.
Here is the basic gear list before you pick your method:
- Wood ear spawn: grain spawn for bags, dowel spawn for logs (both are available from mushroom supply retailers)
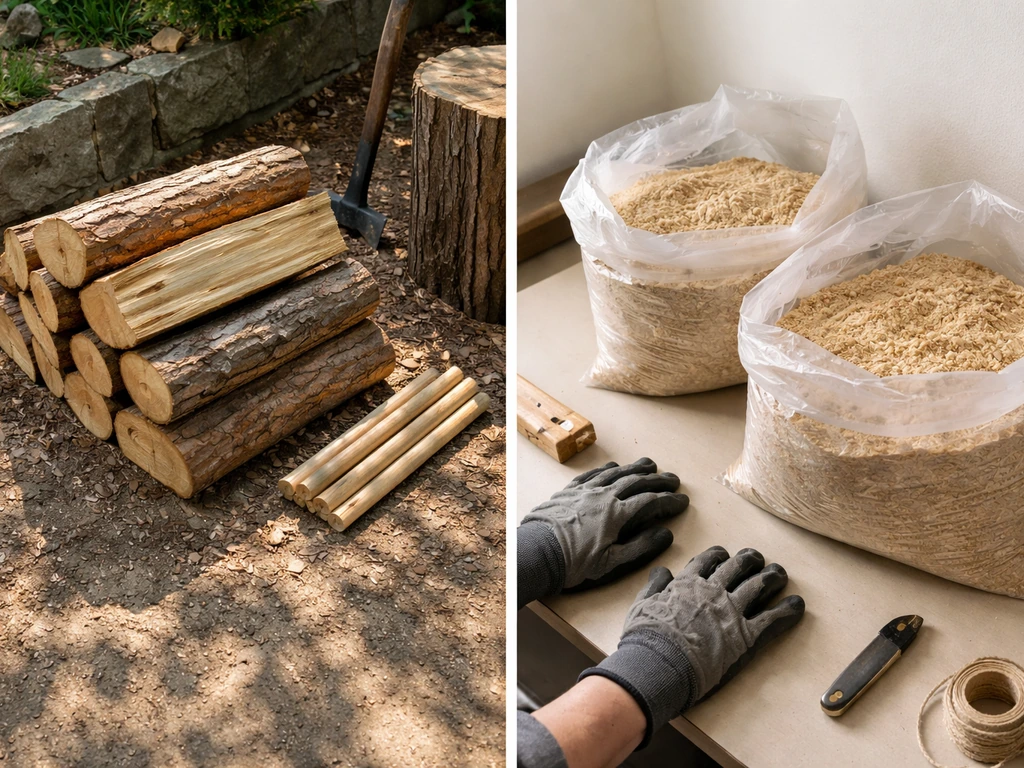
- Substrate: hardwood logs (oak, beech, alder, elder) for outdoor growing, or hardwood sawdust supplemented with wheat bran for indoor bags
- Polypropylene grow bags with filter patches OR fresh-cut hardwood logs (4 to 8 inches diameter, 3 to 4 feet long)
- Pressure cooker or large autoclave for sterilizing indoor substrate
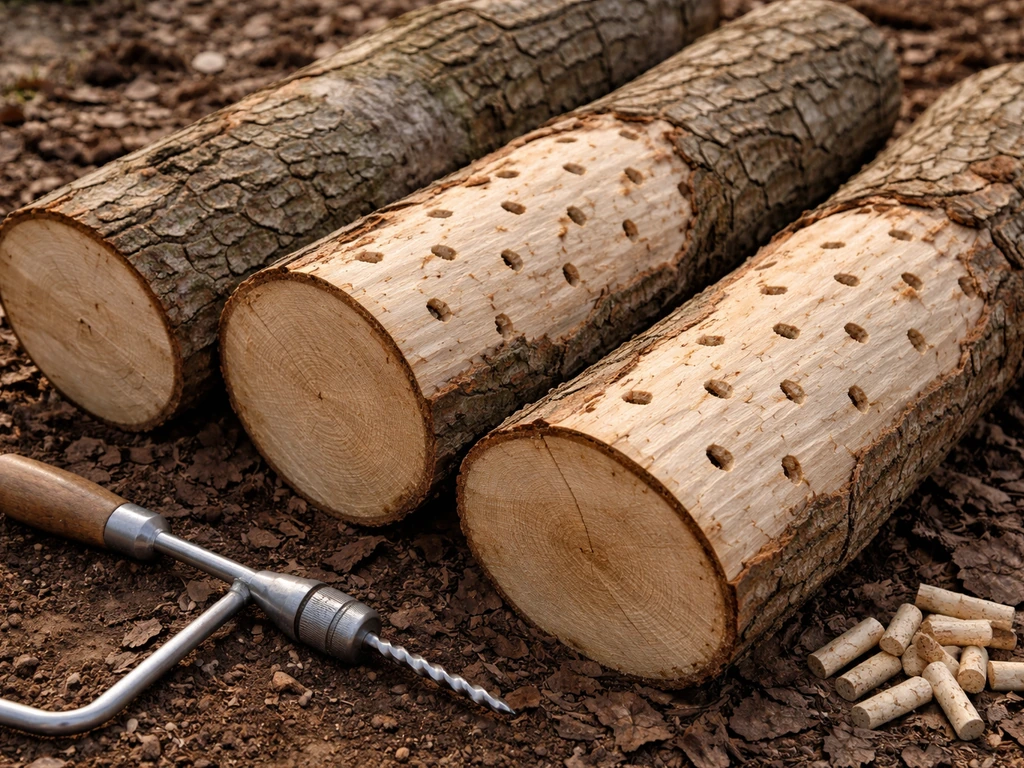
- Food-grade wax and a drill with 5/16-inch bit for log inoculation
- A spray bottle or ultrasonic humidifier for fruiting humidity
- Thermometer/hygrometer combo to monitor your grow space
Outdoor logs vs indoor bags: choosing your grow method
This is the most important decision you make before you start, and the right answer depends almost entirely on what you have available and how patient you are willing to be. Many experienced growers run both outdoor logs and indoor bags at the same time, which is a smart move since the two methods complement each other perfectly on timing, and this same log-vs-bag choice is an adjacent consideration when planning how to grow chicken of the woods mushrooms. If you are planning specifically around mushroom dowels, the inoculation and timing steps will differ slightly from both log and bag grow methods sawdust-based substrate bags.
| Factor | Outdoor Logs | Indoor Sawdust Bags |
|---|---|---|
| Setup cost | Low (logs, dowels, wax) | Moderate (bags, pressure cooker, substrate) |
| Time to first harvest | 6–18 months | 6–10 weeks |
| Yield per cycle | Moderate, multiple years | High per bag (60–100% biological efficiency) |
| Skill level | Beginner-friendly | Beginner to intermediate (sterility required) |
| Space needed | Outdoor shaded area | Small indoor fruiting chamber |
| Control over conditions | Lower (weather-dependent) | High (you manage everything) |
| Best for | Hands-off long-term production | Faster results, year-round growing |
My honest recommendation: if you have a shaded spot outdoors and want a low-maintenance long-term setup, go with logs. If you want mushrooms faster and you have a pressure cooker, do indoor bags. Many experienced growers run both at the same time, which is a smart move since the two methods complement each other perfectly on timing.
Substrate, inoculation, and spawn: getting the foundation right
For outdoor logs
Cut your logs in late winter or very early spring, when sugars are highest in the wood and before competing fungi start colonizing. Oak, beech, alder, and elder are all excellent choices for wood ear. Logs should be 4 to 8 inches in diameter and 3 to 4 feet long. Let them rest for 2 to 4 weeks after cutting so the natural antifungal compounds in fresh-cut wood dissipate, but do not let them dry out completely.
Use a 5/16-inch drill bit to make holes about 1.5 inches deep, spaced roughly 4 to 6 inches apart in a diamond pattern around the log. Tap a pre-inoculated wooden dowel into each hole using a mallet, then seal every hole immediately with food-grade cheese wax melted in a small pot. Sealing is not optional. Any exposed hole is an open invitation for contamination and moisture loss. Some guides suggest letting dowel spawn rest for about a week in a dark place before use, which can help the mycelium establish a bit before inoculation.
For indoor sawdust bags
The standard indoor substrate for wood ear is hardwood sawdust (oak or beech works best) with a 10 to 20% wheat bran supplement for nutrients. A typical bag uses about 1 kg of wet substrate. Mix your dry ingredients first, add water to reach field capacity (about 60 to 65% moisture content, meaning a handful squeezed hard should release only a few drops), then load into polypropylene filter-patch bags. Pressure cook at 15 PSI for 2.5 hours minimum. Let the bags cool to room temperature completely before inoculating, which usually means leaving them overnight.
Inoculate with grain spawn using clean technique: wipe your work surface with isopropyl alcohol, flame-sterilize your tools, and work as quickly as you reasonably can. A 10 to 15% spawn rate by dry weight is a good target. Mix the spawn through the substrate if your bag design allows, or layer it at the top. Seal the bag and move it to your incubation space. Sterility during this step is the single biggest factor between a successful bag and a green-mold disaster.
Temperature, humidity, airflow, and light: hitting the right targets
Wood ear has two distinct phases with different environmental needs, and treating them the same is one of the most common reasons growers get poor results.
Colonization (incubation) phase
During colonization, keep things dark, warm, and still. The ideal range for A. heimuer spawn run is 25 to 28°C (77 to 82°F). You want humidity around 70 to 80% in the incubation space, but the sealed bag or wax-sealed log handles most moisture retention on its own during this phase. Minimal airflow is fine here. Resist the urge to open your bags or disturb your logs. Just let the mycelium do its work.
Fruiting phase
Once colonization is complete, conditions change significantly. The three variables you need to manage for fruiting are humidity, fresh air exchange, and temperature, roughly in that order of importance.
- Humidity: 85 to 95% relative humidity during fruiting. Mist the walls of your fruiting chamber (not the mushrooms directly) several times a day, or run an ultrasonic humidifier on a timer.
- Fresh air exchange: This is where a lot of beginners fall short. High CO2 causes long, distorted fruit bodies or prevents pinning altogether. Fan the chamber or open it for fresh air at least 2 to 3 times daily. Aim to keep CO2 below 1,000 ppm if you can measure it.
- Temperature: Keep fruiting between 23 and 28°C (73 to 82°F) for A. heimuer. A. auricula-judae strains prefer cooler conditions, sometimes as low as 10 to 15°C.
- Light: Diffuse ambient light is enough. Around 500 to 1,000 lux works well. Wood ear does not need bright light, but some indirect light helps orient pinning.
A practical home setup is a clear plastic storage tote or a small grow tent with holes cut in the sides and covered with polyfill for air filtration. Mist 3 to 4 times a day and fan for 30 seconds to a minute each time. This is the same basic fruiting-chamber approach used across most indoor mushroom cultivation, whether you are growing wood ear, beech mushrooms, or chestnut mushrooms. If you are specifically looking for chestnut mushrooms, the overall indoor and fruiting-chamber approach is similar, but you will want to fine-tune the species requirements.
Timeline from setup to first harvest
Here is a realistic, week-by-week picture of what to expect. These timelines assume A. heimuer on indoor bags, with log timelines noted separately.
- Days 1–3: Substrate sterilization, cooling, and inoculation. Seal bags and move to your incubation space at 25–28°C.
- Days 4–21: Colonization. White mycelium spreads visibly through the bag. A 600 mL jar-scale substrate typically colonizes in about 21 to 22 days; larger bags take a bit longer. Keep things dark and undisturbed.
- Days 21–28: Full colonization. The substrate should look uniformly white or slightly tan. No green, black, or pink patches (those signal contamination).
- Days 28–35: Cut or open the bag to expose the colonized surface. Transfer to fruiting conditions: humidity 85–95%, fresh air exchange, diffuse light, 23–28°C.
- Days 42–56: Primordia (pins) emerge from the cut opening. In many systems this takes 14 to 21 days after exposing the bag, though some growers see pins sooner with tight humidity control.
- Days 56–70: Fruit bodies develop and reach harvest size. First flush typically completes within 7 to 10 days of pinning.
- Logs (outdoor): Allow 6 to 12 months for full colonization, then begin fruiting cycles. Logs should not freeze in the first 30 days after inoculation. First fruiting often happens naturally with rain and temperature swings, or you can trigger it by soaking the log in cold water for 12 to 24 hours.
Harvesting, drying, storing, and running more flushes
How to harvest correctly
Harvest wood ear when the fruit bodies have fully expanded and the edges are starting to ruffle or wave outward. Do not wait until they start to dry or bleach at the edges. Because they are thin and gelatinous (often just a few millimeters thick), they tear easily. Twist and pull at the base rather than cutting, to minimize leftover stubs that can rot. Handle them gently and get them into a container or onto a drying rack quickly, because they start losing moisture and can accumulate bacterial growth fast if left at room temperature.
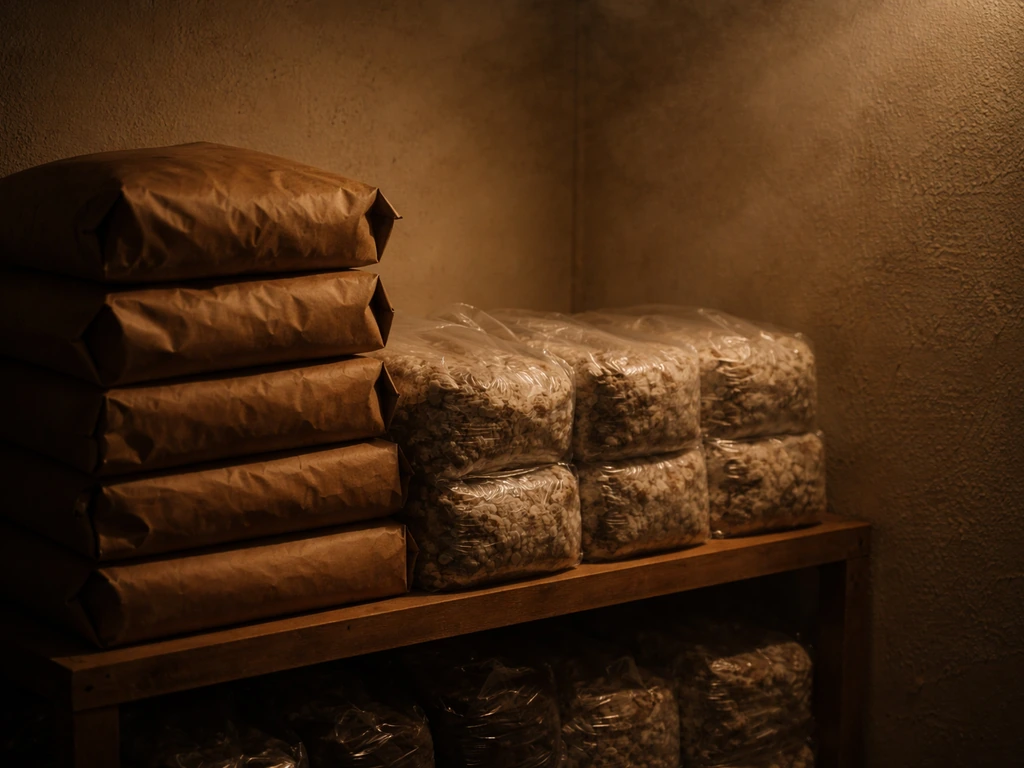
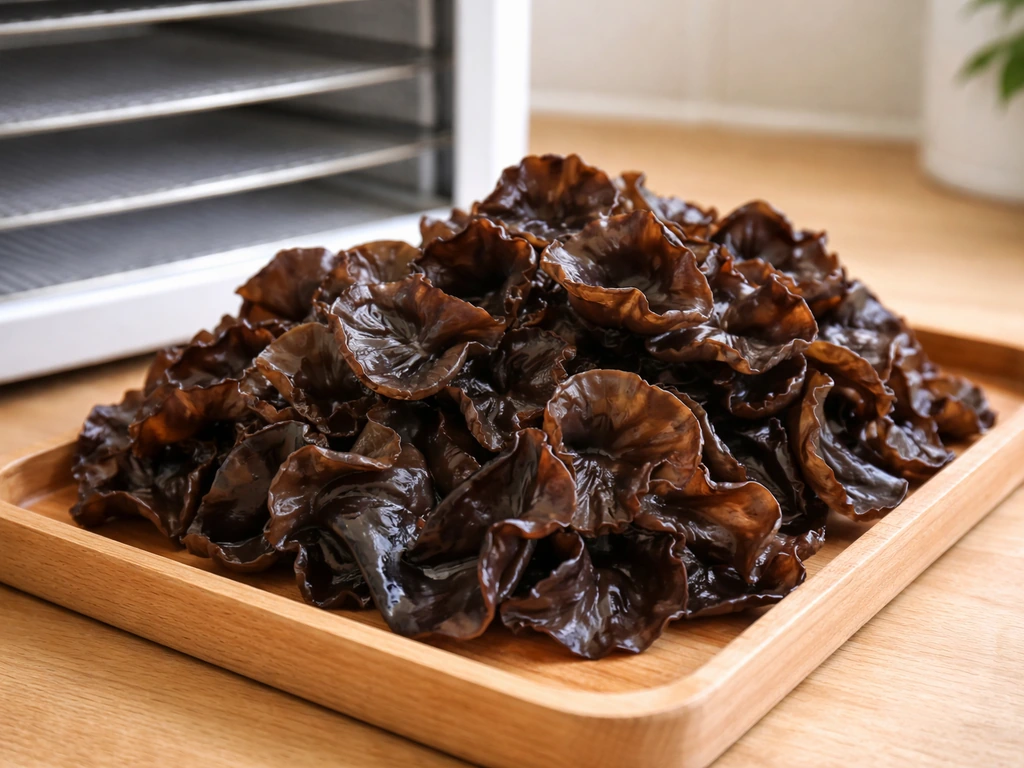
Drying and storage
Drying is by far the best way to store wood ear long-term, and it is also the format most people are familiar with from cooking. Spread clean fruit bodies on a dehydrator rack at 45 to 55°C (113 to 131°F) until completely brittle, usually 4 to 8 hours depending on thickness. You can also air-dry them in a warm spot with good airflow, though this takes longer and requires consistently dry conditions to avoid spoilage. Once dried hard and brittle, store in an airtight container in a cool, dark place. Freezer storage extends shelf life significantly: dried wood ear stored at 0°F in a sealed bag or container can last three years or more with no quality loss.
One important food-safety note: never soak dried wood ear mushrooms and then leave them at room temperature for extended periods. Rehydrate only what you plan to use immediately, because improperly held rehydrated wood ear can harbor bacterial pathogens.
Getting more flushes from the same setup
After your first flush, let the substrate rest for one to two weeks with humidity kept at around 80%. Mist lightly but do not soak. The mycelium is rebuilding energy reserves. Then return to full fruiting conditions. Most sawdust bags will produce two to four flushes before the substrate is exhausted. Biological efficiency across a full run can reach 60 to 100%, meaning you can pull 600 grams to 1 kg of fresh mushrooms from a 1 kg dry substrate bag over multiple flushes. When yields drop significantly, the substrate is spent.
On logs outdoors, the cycle is longer but repeats for years. After a harvest, move the log back to a shaded, humid spot and let it rest. Many growers in temperate climates get annual fruiting cycles tied to rain and temperature shifts in spring and fall. You can also trigger a new fruiting cycle by soaking the log in cold water for 12 to 24 hours.
Well-maintained logs often produce reliably for two to four years before they become too decomposed to colonize efficiently. Growing on sawdust using a similar approach is covered in more depth in other growing guides for sawdust-based cultivation if you want to dig further into that substrate method. If you want a deeper walkthrough, see our guide on how to grow mushroom using sawdust for the full step-by-step process sawdust-based cultivation.
Why your wood ear won't fruit (and how to fix it)
Wood ear is forgiving, but there are a handful of specific issues that reliably prevent fruiting. Here is what to look for:
| Problem | Likely Cause | Fix |
|---|---|---|
| No pins after 3+ weeks of fruiting conditions | CO2 too high / insufficient fresh air | Increase fanning frequency; add more vent holes to your fruiting chamber |
| No pins despite good airflow | Humidity too low | Check your hygrometer; increase misting frequency or add a humidifier |
| Distorted, long, thin fruit bodies | CO2 buildup | Same fix as above: more fresh air exchange |
| Green, black, or pink patches on substrate | Contamination (mold) | Remove and discard affected bags; this cannot be reversed. Improve sterile technique before next run. |
| Colonization stalling or very slow | Temperature too low or spawn quality poor | Move incubation space to 25–28°C; use fresh spawn from a reputable supplier |
| Fruit bodies drying out and dying before full size | Humidity crashing between misting | Mist more frequently or use a humidifier on a timer; close chamber more between air exchanges |
| Log not fruiting after colonization period | Log too dry, or not triggered | Soak log in cold water for 12–24 hours; ensure log is stored in a shaded, humid outdoor area |
| Poor yield or tiny fruit bodies | Substrate nutrition depleted or wrong wood type | Use hardwood sawdust (not softwood); ensure bran supplementation at 10–20% in bags |
The two issues I see come up most consistently are CO2 buildup and humidity swings, usually both at the same time. People set up a fruiting chamber, mist it once or twice a day, and then wonder why they get long stubby pins or nothing at all. The answer is almost always that the air inside is stagnant and CO2 has built up. Fan more aggressively than feels necessary, and your fruiting will improve noticeably. On the contamination side, sterility during inoculation of sawdust bags is absolutely non-negotiable. One slip in technique can ruin an entire batch, and unlike with log cultivation, there is no recovering a contaminated bag.
If you are troubleshooting a log setup specifically, check that you sealed every inoculation hole completely with wax and that the log has not dried out during incubation. Logs stored in too much sun or with inadequate shade can lose moisture rapidly, especially in summer. A simple fix is to cover logs loosely with burlap or shade cloth during the incubation period and keep them off concrete, which wicks moisture aggressively.
Once you have your first successful flush of wood ear, the process clicks into place quickly. The fruit bodies are unmistakable, the harvest is satisfying, and the dried yield is genuinely useful in cooking. Start with one method, nail the humidity and airflow, and build from there.
If you want to move from your first flush to a wood-chip style substrate approach later, use the same humidity and fresh air targets and then adapt the materials using the detailed guide on how to grow mushrooms in wood chips. If you are wondering how to grow honey mushrooms, the same humidity and fresh-air principles that make wood ear fruit will help you dial in your setup.
If you want faster results or a more controlled environment, the same principles apply when you learn how to grow hen of the woods mushrooms wood ear.
FAQ
Do I need to re-wax wood ear dowel holes, and what if the wax cracks? (logs only)
Plan for re-waxing. If a wax-sealed hole cracks, pops loose, or leaks during incubation or outdoor weather, you need to melt fresh food-grade cheese wax and reseal immediately, otherwise that gap becomes both a contamination and a moisture-loss point.
What should I do if my wood ear dowels look dry when I get them?
Yes, but use it only as a pre-wetting step. If your dowels have dried out, you can briefly rehydrate them in clean, room-temperature water for a few minutes, then drain thoroughly before insertion, then seal right away. Do not soak for long periods, because it can compromise spawn vigor and increase contamination risk.
Can I keep my whole wood ear setup in the same container for both incubation and fruiting?
Isolate incubation from fruiting. Do not keep the same tote or tent settings for colonization and fruiting, because fruiting needs fresh air exchange while colonization needs minimal airflow. If you must use one chamber, use a simple divider and adjust misting and fan schedules when you switch phases.
My wood ear isn’t fruiting, humidity looks high, what should I troubleshoot first?
A humidity reading is useful, but it can lie without airflow. If your tote stays wet on the walls and you still see stalled growth, you likely have CO2 buildup, so increase fan time first (short, frequent bursts) before adding more mist. For example, raise fresh air exchange for a few days while keeping misting at the low end.
How do I know if I’m misting too much during fruiting?
No, “more mist” is often counterproductive in fruiting. Over-wetting can cause bacterial spotting and slime, and it reduces oxygen availability at the surface. Aim for damp air and lightly wet fruit bodies, not standing water, and adjust by observing whether droplets quickly evaporate within an hour or two.
Can I grow wood ear at lower than recommended temperatures, like indoors in a cooler room?
You can, but start with a small batch and adjust the spawn rate slightly downward. Cooler temperatures generally slow colonization and can increase the time contaminants have to compete. If you run at low temperatures, keep incubation dark and stable, and expect longer timelines than the typical 3 to 5 months on logs.
How exact does the harvest timing need to be for best texture?
Yes, and it matters. Fruit bodies that are allowed to bleach or dry at the edges are harder to handle, tear more easily, and often look worse after rehydration. A good rule is to harvest when the ear shape is fully expanded and still flexible, before significant edge ruffling and whitening.
What causes uneven growth in indoor bags, even when contamination is not obvious?
If pellets, flakes, or clumps of substrate trap water, fruiting can become patchy and uneven. Mix thoroughly to hit field capacity, then break up any large chunks before bagging. After pressure cooking and cooling, avoid adding extra water, because it can form wet pockets that favor contaminants and bacteria.
Can I rehydrate more wood ear than I need and store it at room temperature?
For wood ear, avoid “soak and wait” rehydrating. Rehydrate only the portion you will cook soon, keep it refrigerated if you need short holding, and discard any rehydrated mushrooms that smell sour or slimy. Letting rehydrated wood ear sit warm for long periods is a common safety mistake.
How can I tell when dried wood ear is actually fully dry for long-term storage?
Drying time should be determined by brittleness, not by clock time. If pieces bend, they are not fully dry and can spoil during storage. Run another short dry cycle until the mushrooms snap and crumble, then cool fully before sealing in an airtight container.