
Mycelium bricks are made by packing inoculated substrate into a mold, letting the mycelium colonize and bind the material together, then drying the result into a solid, lightweight composite. The full process from mixing substrate to a finished, handleable brick takes roughly two to four weeks depending on your strain and conditions, and the supplies cost very little if you already have a pressure cooker and some grain spawn on hand.
How to Grow Mycelium Bricks: Step-by-Step Guide
Marcus Holloway
30 May 2026
What mycelium bricks are (and what you can actually do with them)
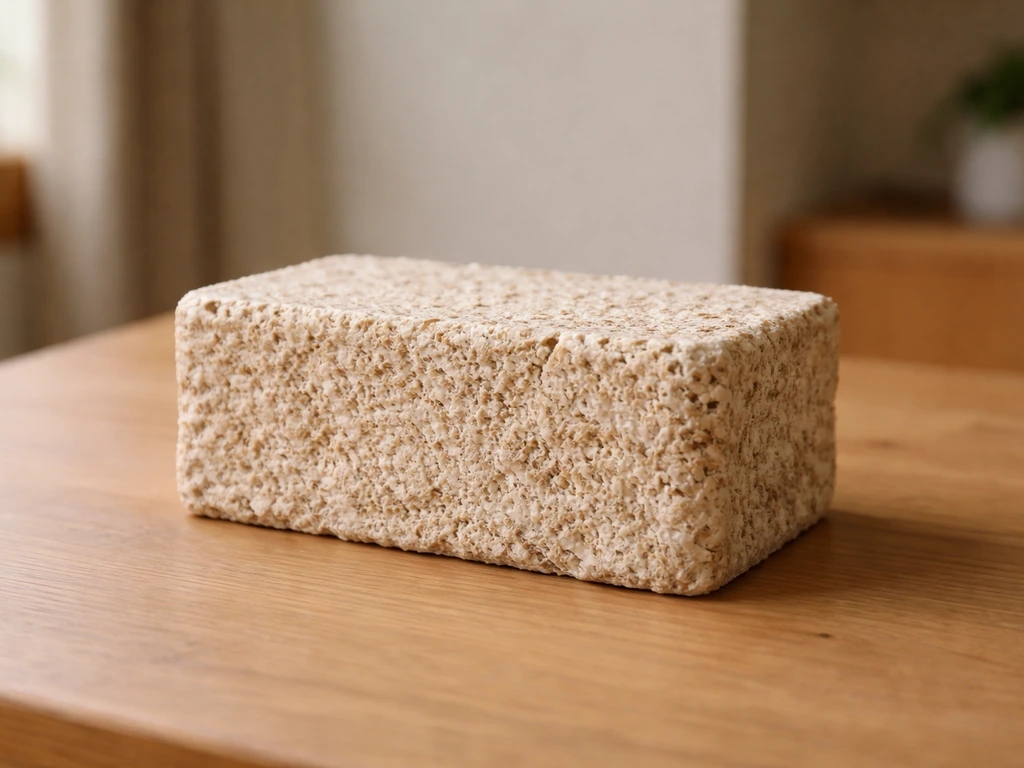
A mycelium brick is a bio-composite: agricultural or wood-based filler material (sawdust, straw, hemp hurd, rice bran, corn cobs) bound together by fungal hyphae that physically weave through and grip the particles as the mycelium colonizes. The mycelium acts as the glue. Once fully colonized and then dried to kill the living organism, you get a rigid, odorless, surprisingly strong block. Research has shown mycelium-bound composites can reach compressive strengths of 3.5 MPa or higher, enough to meet minimum standards for masonry bricks, depending on substrate formulation and mycelial density.
For home growers, the practical uses fall into a few clear categories. You can make decorative or sculptural objects, lightweight insulation or packaging inserts (think custom-shaped protective blocks), planters or biodegradable garden structures, and if you use an edible species and keep the brick alive rather than drying it, a reusable fruiting block you can trigger for mushroom harvests. Companies like Ecovative Design and MykoBrick have scaled this to commercial levels using spent mushroom substrate and pressed/baked composites, but the home version is totally achievable without specialized equipment.
Supplies and equipment: what to buy before you start
Choosing your spawn and strain
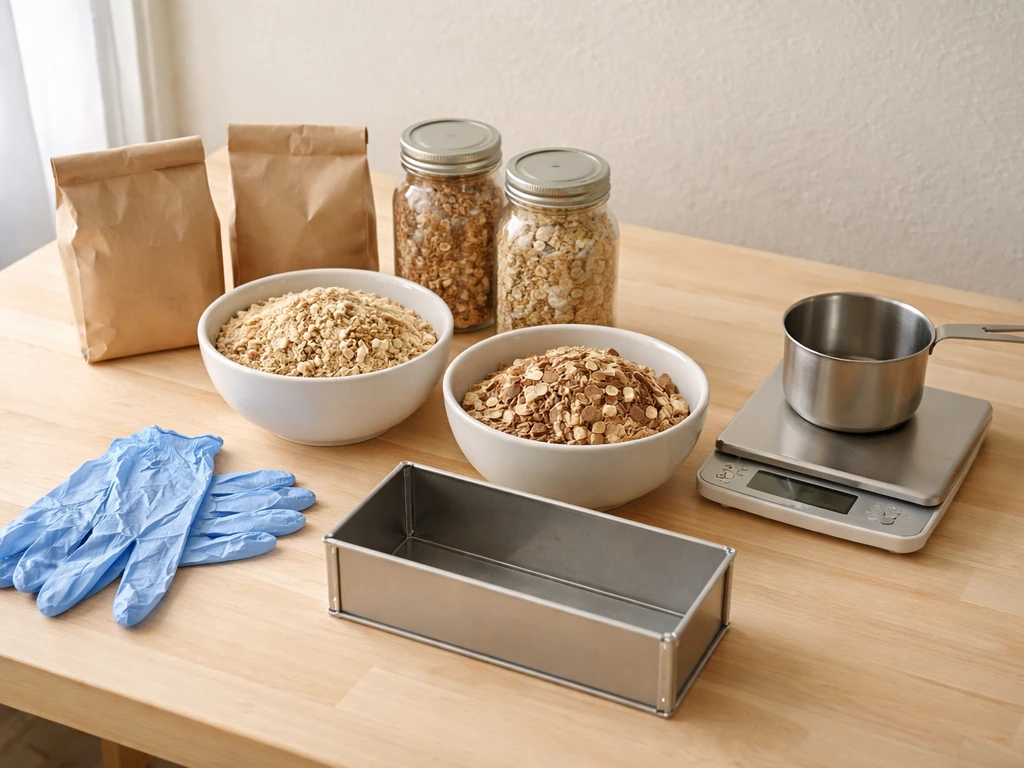
Spawn is living mycelium grown on a carrier substrate, usually grain, sawdust, or wood chips. For bricks, you want a fast, aggressive colonizer that produces dense, sturdy hyphal networks. Oyster mushrooms (Pleurotus ostreatus or Pleurotus eryngii) are the most popular choice for beginners because they colonize quickly, tolerate a range of substrates, and are widely available as grain spawn. Ganoderma lucidum (reishi) is excellent for denser, more structural bricks because its mycelium is particularly thick and fibrous, though it colonizes more slowly. Avoid slow, finicky, or cold-temperature species for your first attempt.
Grain spawn (rye, wheat, or oat berries inoculated with mycelium) is the most practical inoculant for home bricks because it mixes evenly throughout the substrate. Sawdust spawn works too, especially for wood-loving species. You can buy ready-made spawn online or produce your own if you already have agar plates or liquid culture, which is covered in the guide on how to grow mycelium at home. Either way, fresh spawn that smells clean and earthy is non-negotiable. Old or contaminated spawn is the single fastest route to a failed brick.
Molds and containers
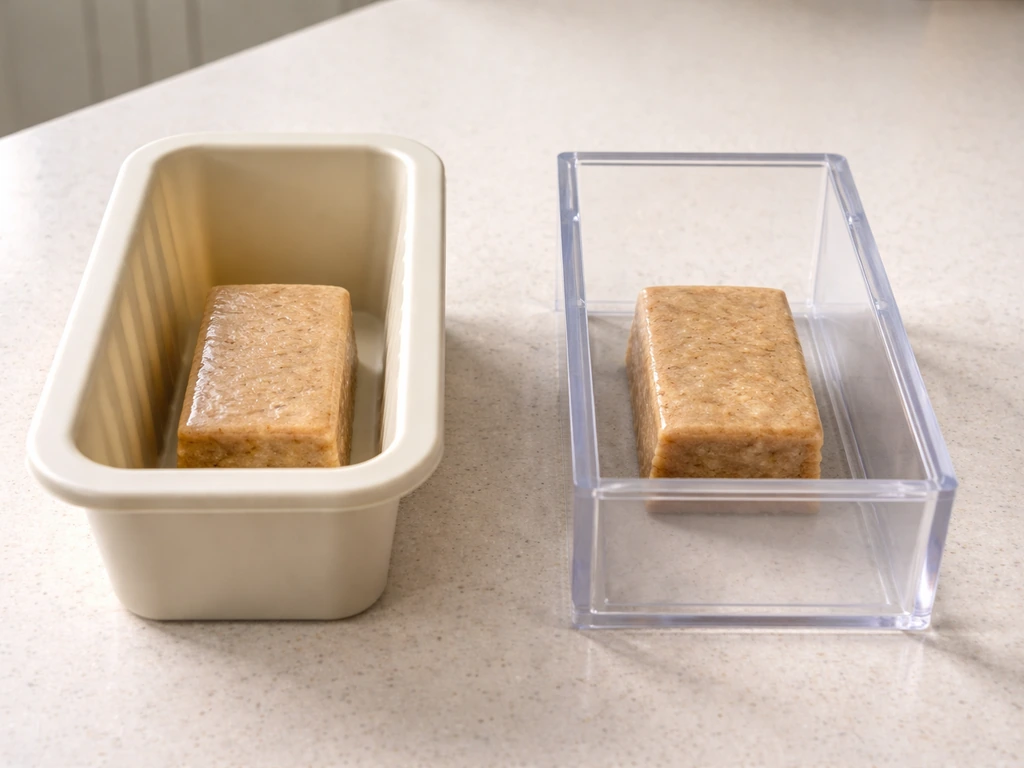
Your mold defines the brick's shape and you want something rigid, non-porous, and easy to clean. Standard options: silicone loaf pans (excellent, reusable, easy release), PVC or wooden frames lined with plastic wrap, dollar-store food containers, and even cardboard molds for single-use biodegradable bricks. Line any non-silicone mold with plastic wrap or a bag to prevent the mycelium from bonding to the walls, which makes demolding a nightmare. Size matters less than consistency: pick one mold shape and stick with it so your colonization times are predictable across batches.
Substrate ingredients
The substrate is both the food source and the structural filler, so the particle size and mix ratios directly affect brick strength and colonization speed. A reliable all-around mix for beginners is 70 to 80 percent hardwood sawdust (or pellets rehydrated) combined with 20 to 30 percent wheat bran or rice bran as a nitrogen supplement. For even denser, stronger bricks, some growers add 5 to 10 percent gypsum, which improves texture and slightly inhibits contamination. You can also substitute part of the sawdust with hemp hurd, straw, corn cob grit, or spent coffee grounds. Whatever you use, the particle distribution matters: finer particles produce smoother, denser bricks while coarser material gives a more porous, lighter result.
Substrate prep and sanitation
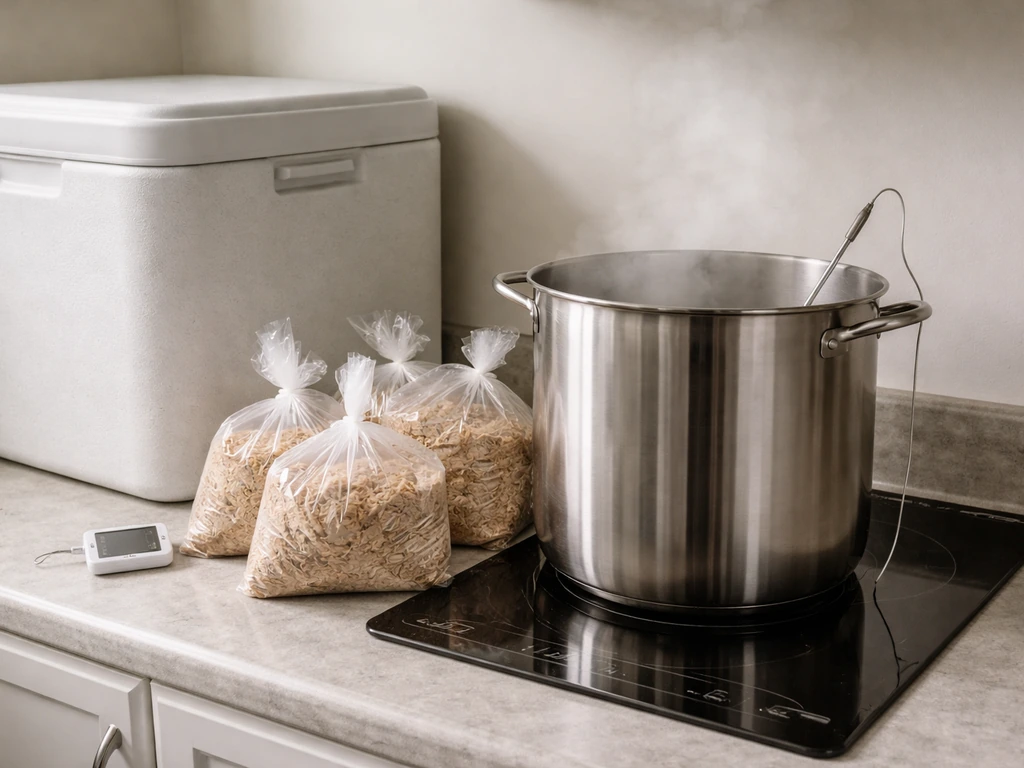
Moisture targets: get this right first
Substrate moisture is one of the most critical variables and it is easy to get wrong. The target for most mycelium brick substrates is around 60 percent moisture content by weight. In practical terms, when you squeeze a fistful of mixed substrate in your hand, a few drops of water should drip out, but not a steady stream. Too wet and you drown the mycelium and invite bacterial contamination. Too dry and colonization stalls out before the mycelium can properly bind the substrate. A kitchen scale makes hitting the right ratio much easier: weigh your dry substrate, calculate the water needed to reach 60 percent of the total final weight, and add it incrementally.
Sterilization vs. pasteurization: which one you actually need
This is where a lot of people cut corners and pay for it later. For supplemented substrates (anything with bran, rice, or other nitrogen additions), you must sterilize, not just pasteurize. Pasteurization at 60 to 70°C for three hours is sufficient for low-nutrient substrates like plain straw used in oyster production, but the moment you add nutrient-rich supplements, you need full sterilization at 15 PSI (121°C / 250°F) for 90 to 120 minutes in a pressure cooker. The extra nutrition that makes the mycelium grow fast also makes contaminants grow fast, and pasteurization temperatures will not reliably kill thermophilic bacteria or fungal spores. For pure sawdust with no supplements, pasteurization is borderline acceptable, but sterilization gives you a much higher success rate and is worth the extra time.
After sterilizing, let the substrate cool completely to below 25°C before inoculating. Introducing spawn to hot substrate kills the mycelium. This sounds obvious but when you are eager to get started it is a genuinely common mistake.
Inoculation and brick formation
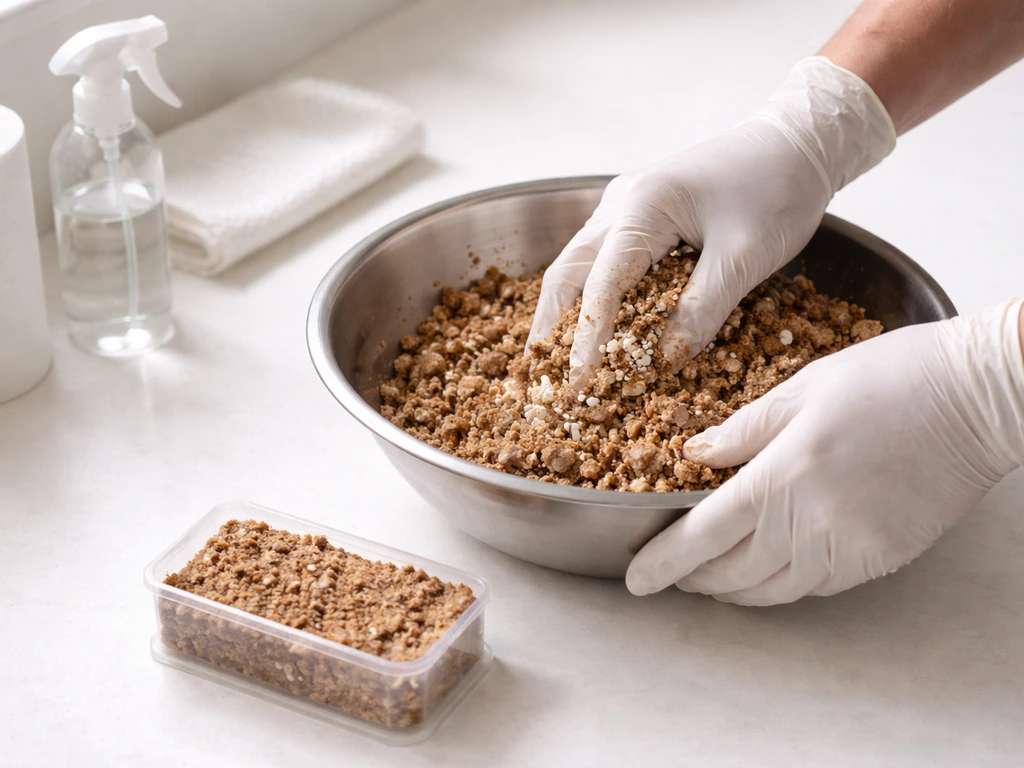
Mixing in your spawn
Work in as clean an environment as possible. Wipe down your workspace with 70 percent isopropyl alcohol, use gloves, and ideally work near a still-air box or flow hood if you have one. A still-air box (a clear plastic tote with arm holes) is cheap and effective for home use. Combine your cooled substrate and spawn at a ratio of roughly 10 to 20 percent spawn by dry weight of substrate. Higher spawn rates mean faster colonization and less opportunity for contaminants to win the race, so if you can afford more spawn, use it. Mix thoroughly so spawn is distributed throughout the substrate rather than sitting in clumps.
Packing the mold
Pack the inoculated substrate firmly into your mold. Compression matters: loose packing means the mycelium has to bridge larger gaps, which slows colonization and produces structurally weak bricks. Press down firmly in layers, compressing each layer before adding the next. The goal is to eliminate large air pockets while still leaving enough microscopic space for gas exchange. After packing, cover the mold with a breathable filter (polyfill stuffed into a hole in the lid, or a loose-fitting lid with micropore tape) to allow CO2 to escape and some oxygen to enter while blocking contaminants. Label each mold with the species, substrate mix, date of inoculation, and spawn rate. This sounds like overkill until you have four identical containers and cannot remember what you put in which one.
Incubation and colonization environment
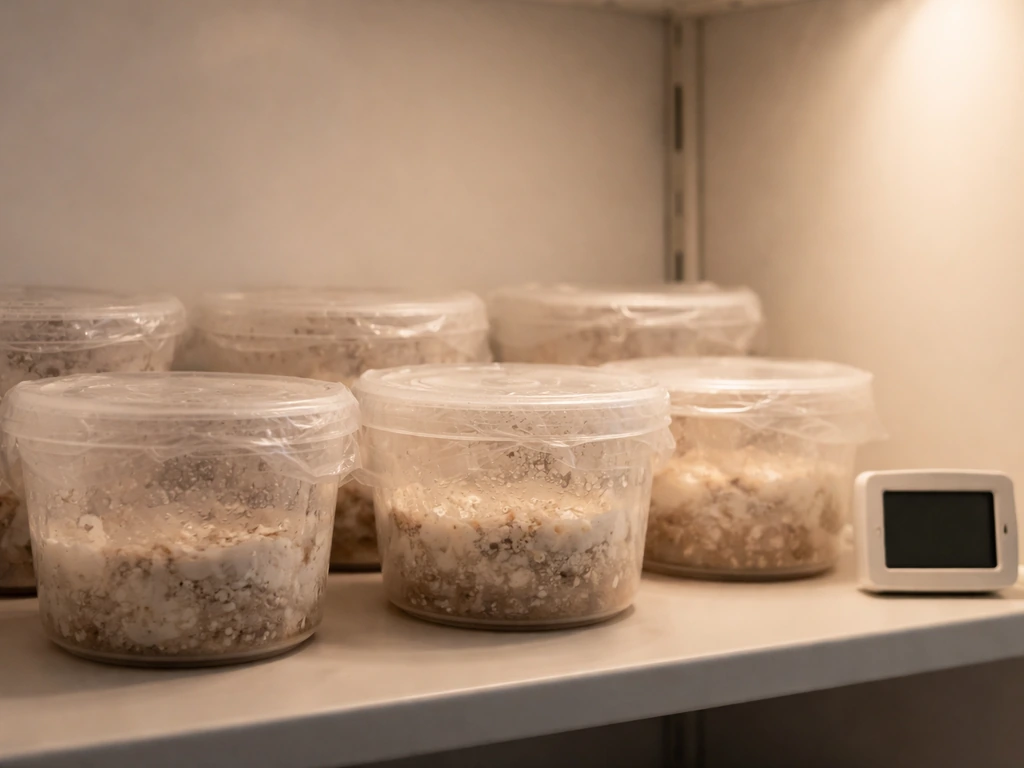
During colonization, the mycelium needs warmth, adequate humidity, minimal light, and restricted but not zero airflow. The sweet spot for most species is 22 to 26°C. Below this range colonization slows considerably. Above 30°C you risk killing the mycelium or encouraging bacteria. Maintain 80 to 95 percent relative humidity around the molds by placing them in a sealed tote with a small cup of water or a damp towel nearby, or by misting the exterior of the container (not the substrate itself) every day or two. Avoid placing molds in direct airflow from fans or AC vents as this dries the surface and can crust it over, blocking colonization from spreading outward.
Expect full colonization in 10 to 21 days depending on species, spawn rate, temperature, and substrate density. Oyster mushrooms on a well-supplemented mix can colonize a standard loaf-pan brick in 10 to 14 days. Reishi on a dense hardwood brick might take 3 to 4 weeks. You will see white mycelium spreading through and across the surface. Once the entire surface and visible interior (check by gently pressing the brick) feel firm and uniformly white or off-white with no soft spots, the colonization phase is done. Do not rush to demold early.
Drying and curing: turning a colonized block into a usable brick
If you want a structural or decorative brick (not a fruiting block), you need to dry it properly to kill the living mycelium and lock in the shape. Skipping or rushing this step gives you a soft, moldable block that smells damp and will degrade or fruit unexpectedly. A two-stage drying approach works well: start at around 40°C with the oven door cracked open for 3 to 4 hours to drive off surface moisture gradually, then increase to 80°C for 2 to 3 more hours to fully cure the interior. Because starting substrate is roughly 60 percent moisture by weight, expect the brick to lose 50 to 60 percent of its original wet weight by the time drying is complete. Weigh the brick before and during drying to track progress.
To demold cleanly, let the brick cool fully after the first low-temp phase before handling. If you line the mold with plastic wrap as recommended, the brick should release easily. Bricks crack during drying mainly from drying too fast at too-high temperatures right from the start, or from structural weaknesses caused by incomplete colonization. If you see hairline cracks forming, lower the oven temperature and extend the low-temp phase. A fan pointed near (not directly at) the bricks can help with even drying without surface cracking.
A fully dried brick should be rigid, feel light for its size, have no soft or damp spots when you press firmly, and produce a dull knock when tapped. If it feels spongy anywhere, it is not done. Return it to the oven.
Troubleshooting: when things go wrong (and they will)
| Problem | Most Likely Cause | Fix or Prevention |
|---|---|---|
| Green, black, or pink patches on substrate | Contamination (Trichoderma, Penicillium, or bacteria) | Discard contaminated bricks immediately, sterilize more thoroughly next time, use cleaner work environment and fresh spawn |
| Colonization stalled or stopped halfway | Too cold, too dry, old spawn, or substrate too dense | Move to a warmer spot, check humidity, confirm spawn is viable, reduce packing density next batch |
| Brick crumbles when handled after drying | Incomplete colonization before drying, or too-low spawn rate | Wait longer before drying, increase spawn rate to 15-20%, compress substrate more uniformly during packing |
| Uneven white growth (thick on outside, bare inside) | Insufficient mixing, or substrate packed too densely | Mix spawn more thoroughly, reduce compression, increase grain spawn distribution before repacking |
| Brick cracks during drying | Drying too fast at too-high temperature, or structural weakness from patchy colonization | Use two-stage drying: 40°C first, then 80°C; allow gradual moisture loss |
| Mushrooms pinning on the brick surface | Brick not fully dried, CO2 dropping, or brick exposed to light and humidity | Dry more thoroughly; if you want pins, treat this as a fruiting block instead and provide fruiting conditions |
| Brick smells sour or fermented | Bacterial contamination during colonization | Usually caused by substrate being too wet or not properly sterilized; discard and adjust moisture next batch |
Contamination is the most common failure mode across all mycelium projects, not just bricks. If you are seeing repeated contamination, the culprit is almost always one of three things: insufficient sterilization, inoculating while the substrate was still warm, or working in a contaminated environment. I have lost entire batches to Trichoderma because I got impatient and inoculated at 30°C instead of waiting the extra two hours for the substrate to cool. It is an easy mistake and a frustrating one.
Storage, safety, and what to do with your bricks
How long do dried mycelium bricks last?
Properly dried and cured mycelium bricks are quite stable. Stored in a cool, dry place away from moisture and direct sunlight, they can last one to two years or longer without degrading. The biggest enemy is humidity: if a dried brick absorbs moisture, the remaining dormant spores or bacteria can reactivate and you will see mold forming. Keep them in a sealed container with a silica gel packet if you are storing long-term or in a humid environment. Do not stack heavy items on thin bricks and do not expose them to outdoor weather without a sealant if using them decoratively.
If the brick is meant to grow mushrooms, do not dry it
If your goal is to use the brick as a fruiting block for mushroom production rather than a structural object, skip the drying step entirely. If your goal is truly to grow mycelium in soil, focus on starting with a healthy spawn source and using the right moisture and aeration so the fungus can colonize the ground. If you want to grow mushrooms from mycelium, keep your colonized brick alive by not drying it and then trigger fruiting in the right humid, fresh-air conditions skip the drying step entirely. A fully colonized, un-dried brick is essentially a fruiting block in a brick shape. You can soak it in cold water for 8 to 12 hours to trigger pinning, then place it in a humid fruiting environment (85 to 95% RH, fresh air exchange, indirect light). This is very close to standard fruiting block protocols, and you can get multiple flushes from the same brick before it exhausts its nutrients. After exhausting, the spent brick can go directly into the garden as a soil amendment or you can attempt to rehydrate and re-fruit it for a final flush.
Testing readiness and practical next steps
Before putting dried bricks to use structurally or decoratively, do a quick strength check: press firmly on the face and edges with your thumb. There should be no give and no crumbling at the surface. For basic insulation or packaging applications, mycelium bricks need no surface treatment. For decorative or slightly structural uses, a light coat of shellac, beeswax, or natural linseed oil will seal the surface, improve water resistance, and bring out the texture of the mycelium. Skip synthetic sealants if you plan to compost or bury the brick later.
If you want to go further with mycelium cultivation after making your first bricks, the natural next steps are learning to grow mycelium on different substrates, experimenting with how to grow mushrooms from mycelium using similar colonized blocks for fruiting, or trying more specialized environments like how to grow mycelium in soil for garden integration. Brick-making is one of the most tangible, hands-on ways to understand how mycelium behaves as a material, and it makes a great gateway project into the broader world of fungal cultivation. If you want to move from brick-style blocks to true aerial growth, learn how to grow aerial mycelium so you can encourage that lightweight, fluffy form. Mycorrhizal fungi cultivation is a different (and often more long-term) process than making mycelium bricks, so make sure you follow a species-specific guide.
A quick-reference process summary
- Choose a fast-colonizing strain (oyster for beginners, reishi for denser bricks) and fresh grain spawn at 10 to 20 percent of substrate dry weight.
- Mix substrate to 60 percent moisture (squeeze test: a few drops drip out, not a stream).
- Sterilize supplemented substrates at 15 PSI / 121°C for 90 to 120 minutes. Pasteurize plain straw at 60 to 70°C for 3 hours if using no supplements.
- Cool substrate fully below 25°C before inoculating in a clean environment.
- Mix spawn evenly, pack firmly in lined molds, cover with a breathable filter, and label with date and contents.
- Incubate at 22 to 26°C and 80 to 95% RH in the dark for 10 to 21 days until fully colonized.
- For structural/decorative bricks: dry at 40°C for 3 to 4 hours, then 80°C for 2 to 3 hours. Target 50 to 60 percent weight loss from starting weight.
- Test with thumb pressure. Rigid and no crumble means ready. Store dry with silica gel.
- For fruiting blocks: skip drying, soak 8 to 12 hours, move to fruiting conditions.
FAQ
How do I know the substrate is cool enough before I add grain spawn?
If your substrate was freshly sterilized, let it cool until it feels comfortably cool to the back of your hand (and ideally below 25°C). If you inoculate while it is still warm, you can also see slowed or patchy colonization even when contamination is not obvious, because heat stresses the mycelium first.
Can I pasteurize a supplemented substrate instead of sterilizing it?
Do not pasteurize when you add bran, rice bran, or other nutrient supplements. Use full sterilization (pressure-cooker method) for supplemented mixes, because contaminants benefit from the same extra nutrition and pasteurization will often leave spores alive.
What should I troubleshoot if mycelium colonizes in patches or leaves weak spots?
If colonization is uneven, first check packing density and spawn distribution. Loose packing and clumps usually create dry gaps or nutrient-poor pockets, which then become contamination-prone zones. Next time, mix longer to break up clumps and compress in layers until large visible air pockets are eliminated.
How much airflow is actually needed during colonization, and what goes wrong if it is too sealed or too open?
Aim for breathable closure, not an airtight seal. If the lid is too tight, CO2 builds up and colonization can stall or become “watery” looking. If it is too open, drying speeds up and the edges can crust, so use polyfill or micropore tape approaches rather than fully removing airflow restriction.
Can I use cardboard or other absorbent molds for stronger or more biodegradable bricks?
Yes, but do it carefully. Cardboard molds or other flexible molds may wick moisture and encourage uneven drying, and they can also introduce extra contamination if they are not clean. If you try them, run a shorter proof batch and plan on slower, more variable drying times compared with silicone or plastic-lined molds.
Why do my brick batches end up with different drying times even when I follow the same recipe?
Start small with one mold shape and one substrate recipe, then treat moisture as a measured variable. Use a kitchen scale to calculate water to reach about 60% moisture by weight, but also do a quick squeeze test at the end, you want a few drops, not a stream. Small water errors can shift drying time by days.
My bricks crack during drying, what are the most common causes and how do I prevent it?
If you see hairline cracks while drying, reduce early heat exposure and extend the low-temp phase, cracks usually mean the surface dried faster than the interior. Also ensure full colonization, incomplete binding gives the brick something to crack along. A fan can help only if it is not blasting the surface directly.
How can I tell whether a brick is failing from under-drying versus contamination versus weak colonization?
Often it is not contamination, it is under-drying or uneven drying. A brick that feels spongy, smells damp, or has soft areas is not cured enough, return it to the oven and keep the internal temperature progression slow. If it is dry but still fragile, it may also be under-colonized or under-packed.
What is the best way to store dried bricks long-term, especially in humid climates?
For storage, keep bricks dry and isolated from humidity, moisture is the main trigger for regrowth. Use a sealed container with a fresh silica gel packet, and avoid stacking thin bricks under weight. If you live in a humid climate, refresh silica more frequently and keep containers off concrete floors.
Can I dry the brick and still use it later as a fruiting block?
If you want fruiting, you should not dry at all. A fully colonized, undried brick can be soaked briefly to trigger pinning, then placed in a humid chamber with fresh-air exchange and indirect light. Once you dry for structural purposes, it becomes unsuitable for reliable fruiting.