Psilocybe tampanensis is one of the most fascinating and technically rewarding mushrooms you can attempt to cultivate at home, known for producing both fruiting bodies and underground sclerotia (sometimes called "philosopher's stones"). If you are primarily interested in harvesting the underground bodies, focus on the section that covers how to grow sclerotia as a standalone approach with similar cleanliness and temperature controls. Growing it is entirely possible with standard home-cultivation equipment, a clean workspace, and some patience, but it takes more care than a typical oyster mushroom grow. The full process from inoculation to harvest typically runs 6 to 12 weeks depending on whether you're targeting fruiting bodies or sclerotia, and success hinges on cleanliness, stable temperatures, and understanding what this species actually wants. If you want a fuller overview of the process, see this guide on how to grow mushrooms psybicilin.
How to Grow Psilocybe Tampanensis: Step-by-Step Guide

Legality, safety, and the ethical stuff you need to know first
Before anything else: Psilocybe tampanensis contains psilocybin and psilocin, which are controlled substances in most countries. In the United States, psilocybin is a Schedule I substance under federal law, making cultivation, possession, and sale illegal at the federal level. In Canada, Health Canada is explicit that the production, sale, and possession of magic mushrooms (including cultivation) are illegal. Similar restrictions apply across most of Europe, Australia, and beyond. There are narrow exceptions in some jurisdictions, such as medical exemption programs in Canada or decriminalization at the city level in certain U.S. cities, but these are not blanket permission to grow.
blank" rel="noopener noreferrer">Spores are a separate legal question. blank" rel="noopener noreferrer">Because spores do not contain psilocybin or psilocin, they occupy a legal gray zone in many places. In most U.S. states, purchasing spores for "microscopy" purposes is technically legal, though germinating them and cultivating mycelium crosses into controlled-substance territory in most jurisdictions. California, Georgia, and Idaho are notable exceptions where even spore purchase is restricted. Always check your local and national laws before sourcing or cultivating this species. This article is written as an educational and harm-reduction resource. Comply with the laws where you live.
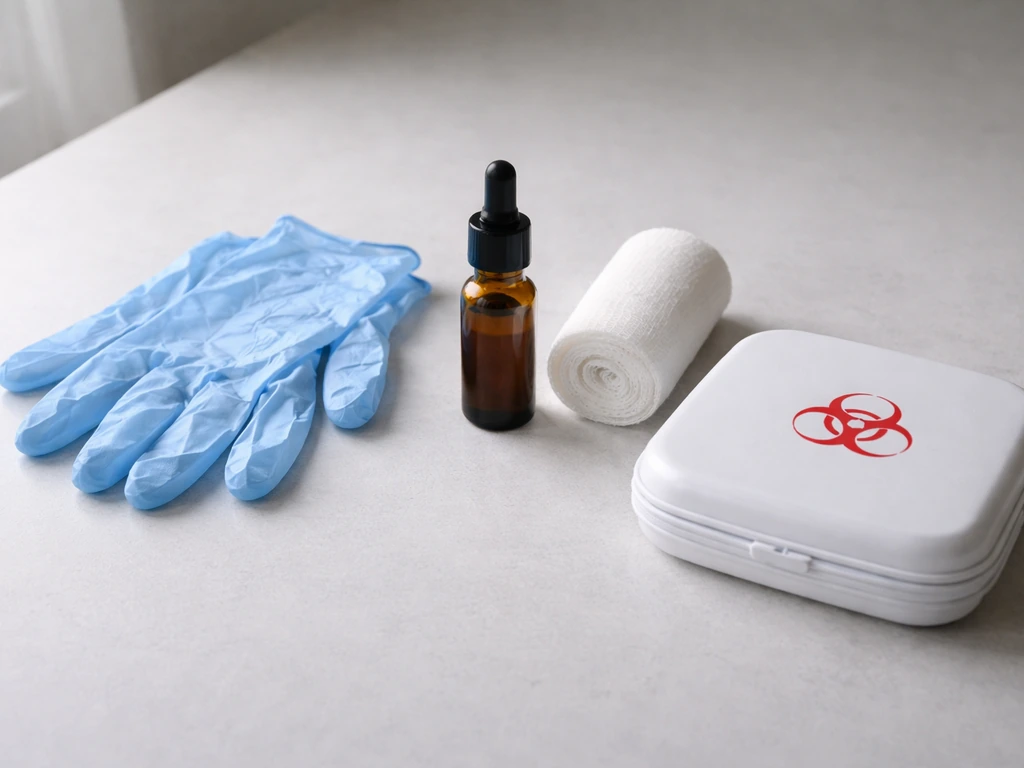
From a safety standpoint, handle all materials with standard food-safe hygiene. Psilocybe tampanensis is not acutely dangerous to work with as a plant, but mold contaminants (especially Trichoderma and Cobweb mold) can produce irritants and allergens. Work in a well-ventilated space and consider a basic N95 mask when handling dry substrate or spores.
What makes Psilocybe tampanensis different from other species
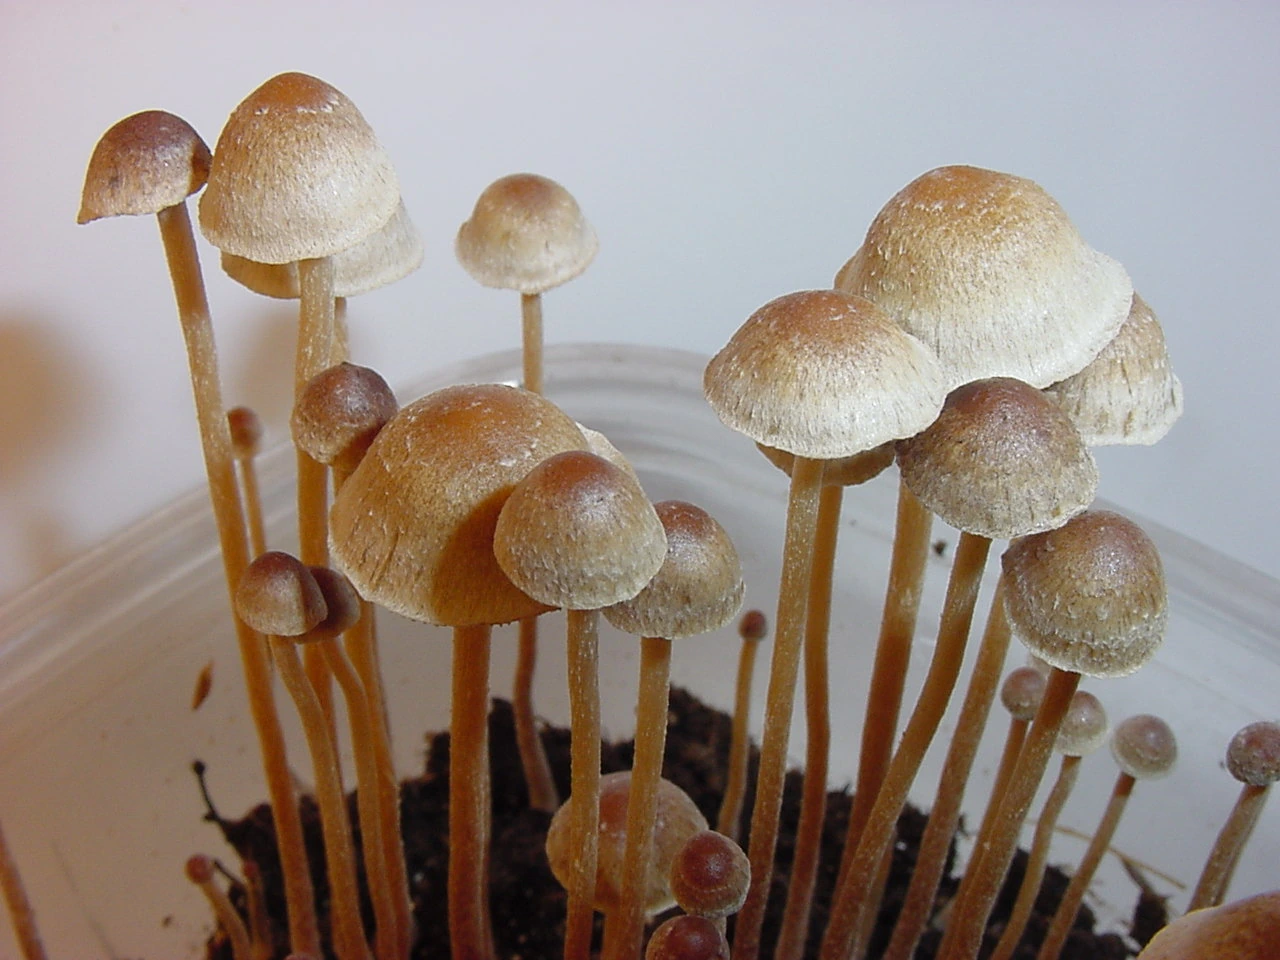
Psilocybe tampanensis was first collected in Tampa, Florida in 1977, and it is rare in the wild. What makes it genuinely unique among cultivated psilocybin species is its dual reproductive strategy: it produces both above-ground mushroom fruiting bodies and subterranean sclerotia, which are hardened masses of compacted mycelium packed with nutrients and psychoactive compounds. Many growers actually target the sclerotia specifically because they are easier to produce reliably in home conditions than the delicate fruiting bodies. If you have ever read about growing sclerotia as a standalone project, this is the species most commonly associated with that technique.
Compared to more beginner-friendly psilocybin species, Psilocybe tampanensis mycelium colonizes more slowly and is more sensitive to temperature fluctuations. It also tends to be a weaker fruiter above ground than something like Psilocybe cubensis, so managing expectations matters. It prefers grain-based substrates for initial colonization and dung-enriched or coco coir substrates for fruiting. The sclerotia, by contrast, develop right in the colonized grain or bulk substrate during or after colonization, which simplifies the harvest process significantly.
If you are already familiar with growing psilocybe varieties like Psilocybe semilanceata or Psilocybe zapotecorum, you will recognize some of the environmental preferences here, though tampanensis is more forgiving on substrate choice than either of those species. It is not the easiest psilocybin mushroom to grow, but it rewards growers who have already done a few basic grain-to-bulk grows.
Growing requirements at a glance
Here is what Psilocybe tampanensis needs to thrive. Nail these parameters and you are most of the way there.
| Parameter | Colonization Phase | Fruiting Phase | Sclerotia Phase |
|---|---|---|---|
| Temperature | 75–82°F (24–28°C) | 68–75°F (20–24°C) | 70–77°F (21–25°C) |
| Humidity (RH) | Not critical (sealed) | 85–95% | Not critical (sealed) |
| Fresh Air Exchange | Minimal (sealed) | 3–5x per day | Minimal |
| Light | Dark or indirect | Indirect, 12 hrs/day | Dark or indirect |
| Timeline | 3–5 weeks | 2–4 weeks post-initiation | 6–12 weeks from inoculation |
| Substrate | Rye, brown rice, oats | Manure/coco coir bulk | Colonized grain |
Realistically, most home growers will produce sclerotia on their first run and may or may not see fruiting bodies. If you do get fruiting bodies, they are typically small and caramel-brown with a distinctive hygrophanous cap that pales as it dries. Yields are modest compared to cubensis: expect 5 to 15 grams of dry sclerotia per 1-liter jar on a good run. Some jars produce more, some less. Do not let a light harvest discourage you on the first attempt.
What you need: sourcing materials and equipment
Spores or spawn
Your starting material will almost certainly be a spore syringe, since liquid cultures and agar cultures of Psilocybe tampanensis are harder to find and import. Reputable spore vendors in the Netherlands, Canada, and the U.S. (outside California, Georgia, and Idaho) sell tampanensis spore syringes marketed for microscopy. Quality varies considerably, so look for vendors with active community reviews on mycology forums. A 10 mL syringe is enough to inoculate 4 to 6 quart jars. Expect to pay $15 to $35 USD per syringe.
Substrate
For grain colonization (the first step), rye berries are the gold standard for tampanensis because they hydrate evenly and provide ample nutrition. Brown rice flour and vermiculite (BRF/verm) works too and is very beginner-accessible. Whole oats are a decent cheap substitute. For bulk fruiting substrate, a 50/50 mix of pasteurized manure compost and coco coir is classic and effective. If you are also interested in edible wild mushrooms, learning how to grow Boletus edulis can be a great next step. Coco coir alone can work for fruiting, though yields tend to be lower.
Containers and other gear
- Wide-mouth quart mason jars (for grain colonization)
- Polyfill or Tyvek material to make breathable jar lids (or pre-drilled injection ports)
- Pressure cooker (15 PSI capable, at least 6-quart capacity) for sterilizing grain
- Alcohol (isopropyl 70%) and a lighter for flame-sterilizing needle tips
- Nitrile gloves and a still air box or flow hood for inoculation
- A humidity tent or monotub for fruiting (a clear plastic storage tub works fine)
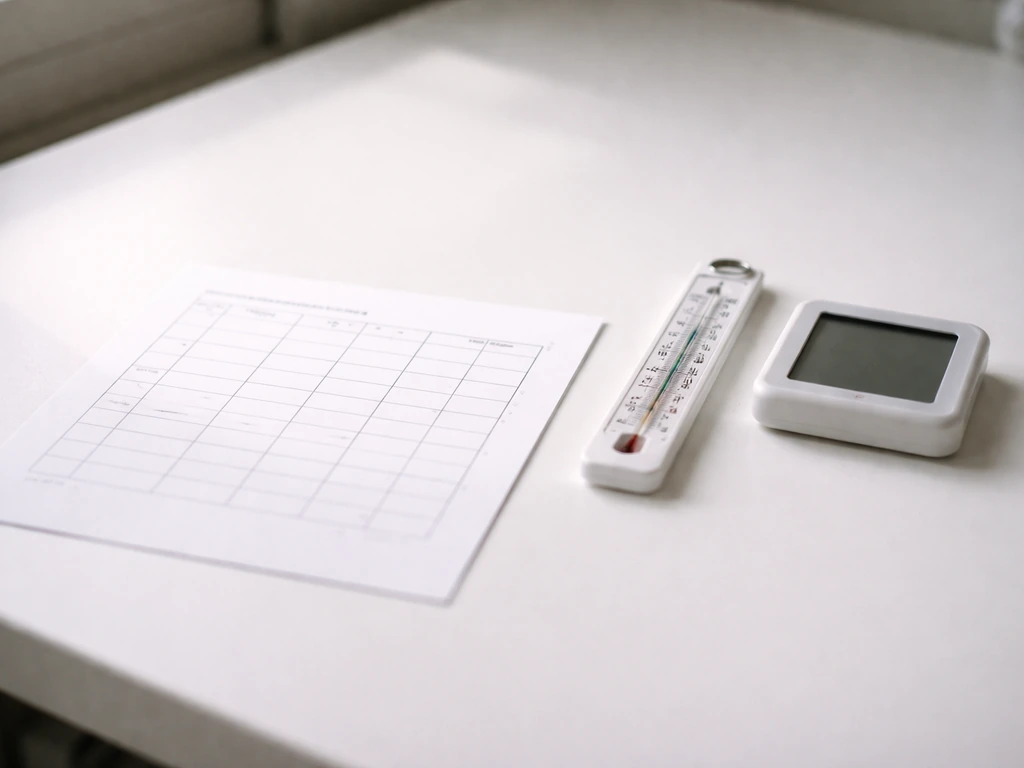
- A thermometer and hygrometer
- Fine mist spray bottle
- A drying rack or food dehydrator for post-harvest
Step-by-step cultivation from inoculation to fruiting
Step 1: Prepare and sterilize your grain
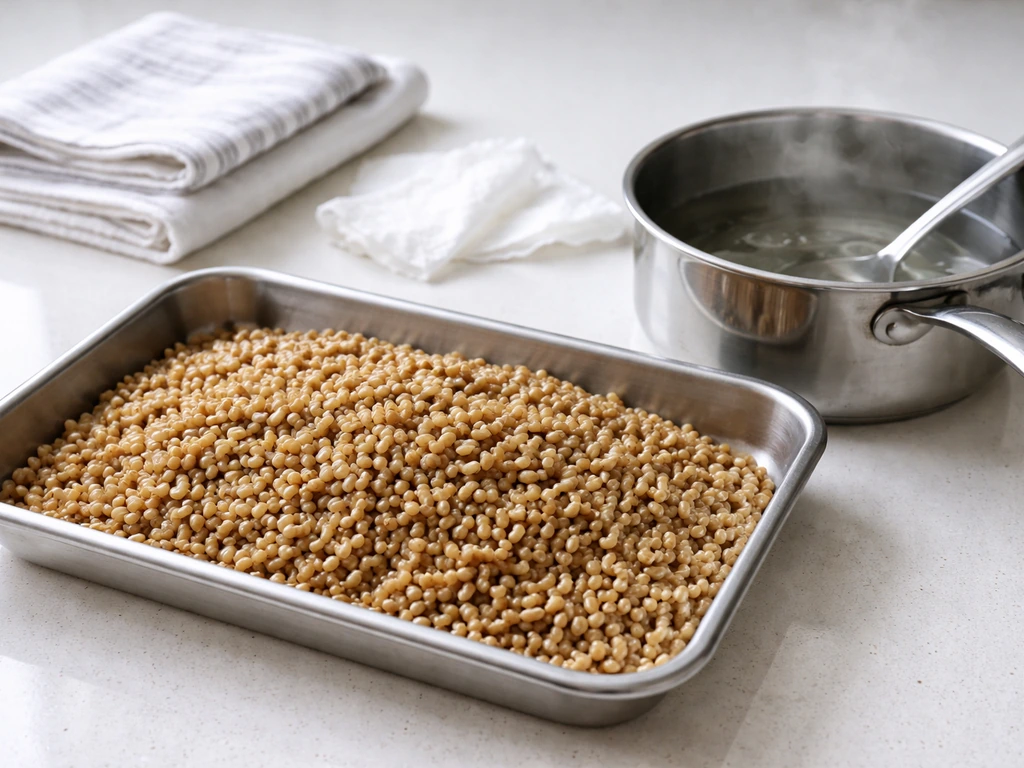
Rinse rye berries thoroughly, then soak them in water for 12 to 24 hours. Drain, simmer in fresh water for 15 to 20 minutes until just tender but not split, then spread on a clean towel to surface-dry for 30 to 60 minutes. You want the grain moist on the inside but dry on the outside. Fill quart jars about two-thirds full, cap with lids that allow gas exchange (polyfill-stuffed self-healing injection ports are ideal), and pressure cook at 15 PSI for 90 minutes. Let jars cool to room temperature, ideally overnight. Do not rush this step. Inoculating warm jars creates condensation that spikes contamination risk.
Step 2: Inoculate
Work in a still air box or in front of a flow hood. Wipe down all surfaces with 70% isopropyl alcohol. Flame-sterilize your needle tip, let it cool for 5 seconds, then inject 1 to 2 mL of spore solution per quart jar through the self-healing port or through the lid directly. Angle the needle toward the glass so the solution runs down the inside of the jar rather than pooling in the center. Shake the jar gently to distribute spore solution across the grain surface. Label with the date, species, and spore source. Store inoculated jars in a dark location at 75 to 80°F.
Step 3: Colonization
Psilocybe tampanensis colonizes slowly. Expect to see the first white mycelium threads in 7 to 14 days, and full colonization of the grain typically takes 3 to 5 weeks. Do not panic if it looks slow compared to other species. The mycelium should appear bright white and fluffy. Do not shake jars during this phase unless you are trying to redistribute early patches, and even then, only shake before the 50% colonization mark. Check jars every few days but keep interference minimal. Sclerotia will often begin forming during this phase, visible as dense yellow or amber nodules pressing against the glass.
Step 4: Case or bulk transfer for fruiting
If you want fruiting bodies above ground, you need to transfer fully colonized grain into a bulk fruiting substrate. Break up the colonized grain and mix it with your pasteurized manure/coco coir bulk in roughly a 1:2 ratio (grain to bulk by volume). Load this into your fruiting container (a clear plastic monotub works perfectly), pat it down to about 3 to 4 inches depth, and apply a thin casing layer of plain coco coir or a mix of peat moss and lime adjusted to pH 7.5. This casing triggers pinning. If you are only targeting sclerotia, you can skip the bulk transfer entirely and harvest directly from the grain jar.
Step 5: Fruiting conditions
Lower the temperature to 68 to 75°F once your bulk is set up. Maintain humidity at 85 to 95% by fanning the container 3 to 5 times per day and misting the walls (not the substrate directly) with clean water. Provide indirect light or a simple 12-hour light cycle using a lamp on a timer. Pins typically appear within 1 to 3 weeks of casing. Tampanensis pins are small and delicate, so handle the fruiting block as little as possible during this phase.
Troubleshooting: when things go wrong
Green, black, or pink patches: contamination
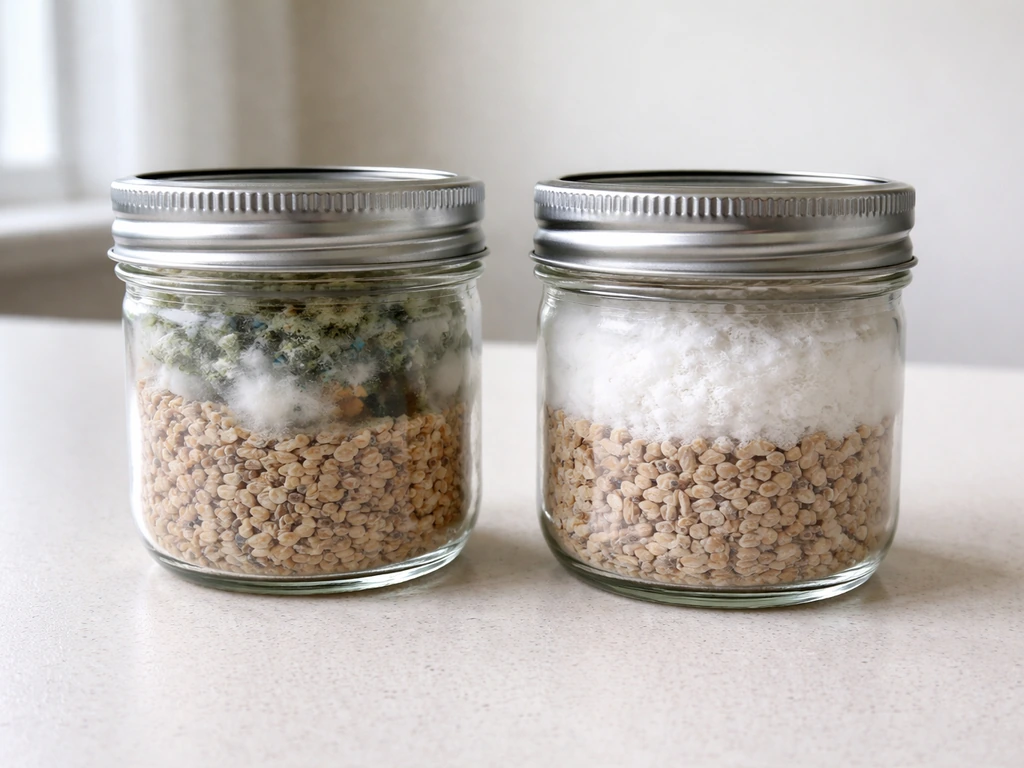
Green mold (Trichoderma) is the most common contaminant and the most aggressive. If you see green anywhere in a jar, isolate it immediately in a sealed bag and remove it from your grow space. Do not open contaminated jars indoors. Black or pink patches usually indicate Bacillus or wet rot, often caused by insufficient sterilization time or grain that was too wet. Contaminated jars are a loss. The best prevention is rigorous sterilization (90 minutes at 15 PSI, no shortcuts), fully dry grain surfaces before loading jars, and clean inoculation technique.
Slow or stalled colonization
If mycelium is barely growing after three weeks, the most likely culprits are temperature too low (below 70°F), poor spore syringe viability, or grain that was too dry. Check your thermometer, consider moving jars to a warmer spot, and make sure your spore source was reputable. A bad spore syringe is frustrating but common. Keeping a backup syringe from a different vendor is worth the extra $20 when you are setting up your first run.
Pins abort or fruiting stalls
Aborted pins are usually a humidity problem. If the surface of your casing layer dries out even briefly, small pins will die off. Increase misting frequency and check your humidity readings more often. Temperature swings above 80°F during fruiting also cause aborts. Consistently high CO2 from inadequate fresh air exchange is another common culprit: if the air smells stale or mushrooms are growing with long, thin stems and no cap, fan more aggressively or add more holes to your fruiting container.
Sclerotia not forming
If colonization looks complete but no sclerotia are visible after 8 to 10 weeks, try leaving the colonized jar undisturbed for another 2 to 3 weeks at a slightly cooler temperature (70 to 75°F). Sclerotia form as a stress response and nutrient accumulation strategy, so they sometimes appear late. Some jars simply underperform. This is normal and not always preventable.
Mycelium looks cobwebby or whispy
Very thin, cobweb-like mycelium growth in the fruiting container is sometimes Cobweb mold (Hypomyces), not your mushroom mycelium. It spreads across the surface in a fine, wispy mat rather than the thicker, rope-like rhizomorphic strands of healthy mycelium. Treat it by lightly misting the surface to collapse it and increasing airflow. If it persists, surface scratching can help, but persistent cobweb mold often signals humidity that is too high or insufficient air exchange.
Harvest, drying, and what to do next
Harvesting fruiting bodies
Harvest fruiting bodies just before or as the veil underneath the cap begins to tear, which is the standard harvest window for psilocybin mushrooms. At this stage the cap is still slightly convex and has not fully flattened or begun releasing spores. Grip the base of the stem and give a gentle twist-and-pull to remove cleanly without tearing the substrate. Immediately after harvesting, clean any remaining stubs from the surface with a clean tool to prevent rot.
Harvesting sclerotia
Harvesting sclerotia is more straightforward. Once the grain jar or bulk substrate is fully colonized and sclerotia are visible (or after 10 to 12 weeks from inoculation), dump the contents onto a clean surface and manually separate the sclerotia from the grain and mycelium. Sclerotia look like irregularly shaped, firm, yellowish-brown nuggets ranging from pea-sized to walnut-sized. Rinse them briefly under cold clean water to remove clinging substrate.
Drying and storage
Dry both fruiting bodies and sclerotia to "cracker dry" for long-term storage. The best method is a food dehydrator set to the lowest setting, typically 95 to 105°F (35 to 40°C). This takes 4 to 8 hours depending on the size of your harvest. Avoid higher temperatures, which degrade active compounds. If you do not have a dehydrator, a fan in front of a desiccant-filled container works but takes longer and is less consistent. You know they are fully dry when they snap cleanly rather than bend. Store in an airtight glass jar with a food-grade desiccant packet in a cool, dark location. Properly dried material stays stable for at least a year, often longer.
Setting up the next flush or grow cycle
After your first harvest of fruiting bodies, rehydrate the substrate by submerging the fruiting block in cold water for 4 to 12 hours (a "dunk and roll" or full submersion depending on your container setup), then return it to fruiting conditions. Psilocybe tampanensis can produce 2 to 3 flushes from a single bulk before the substrate is exhausted. Yields typically decline with each flush. If you harvested sclerotia from a grain jar and want to run another cycle, you will need to start fresh with a new inoculation since the spent grain does not re-colonize effectively. Keeping a spore print from your best fruiting bodies ensures you have genetic material for future grows without relying on purchased syringes.
FAQ
How can I tell whether my grain is contaminated early, before it turns obvious green?
Look for abnormal color shifts (yellow-green, black specks, or persistent gray film) and unusual smells (sour, ammonia-like, or strong off-odor). Healthy tampanensis mycelium is bright white and fluffy, and contamination usually forms as distinct patches that expand faster than the surrounding growth.
Is it better to use a still air box or a laminar flow hood for inoculation?
A laminar flow hood helps reduce airborne contamination, but proper sanitation and keeping the work area undisturbed matter more than the equipment type. If you use a still air box, minimize openings and motion, and keep jar lids and injection ports protected from room air as much as possible.
What should I do if my jars are fully colonized, but no sclerotia are visible yet?
Leave the jars undisturbed for an additional 2 to 3 weeks, and consider dropping the temperature slightly into the 70 to 75°F range. Sclerotia can appear later as a stress and nutrient-accumulation response, so rushing the harvest can reduce yield.
Can I shake the jars to speed up growth if colonization looks slow?
Avoid shaking until at least around 50% colonization. Early shaking can spread contamination or create nutrient-rich wet spots that pathogens exploit. If you do shake, do it gently and briefly, then return jars to stable darkness and temperature.
What’s the most common reason sclerotia yield ends up very low even when jars colonize?
Temperature instability is a frequent cause, along with grain that was too wet or not fully surface-dried before sterilization. Even if the grain colonizes, marginal moisture or fluctuating heat can prevent the compact sclerotia structure from forming reliably.
Should I case for sclerotia-only grows, or can I harvest directly from the grain?
If you are targeting sclerotia, you can skip bulk transfer and casing entirely, harvest directly from the colonized grain. Bulk transfer and casing are mainly for above-ground fruiting, and they add variables that are unnecessary for sclerotia production.
Why do I get long stems and no caps during fruiting?
That pattern often indicates excessive CO2 and poor fresh air exchange, or too much moisture on the surface. Improve airflow and fresh air supply (more effective fanning and container exchange), and ensure your humidity is maintained by misting the walls rather than soaking the substrate.
How do I distinguish cobweb mold from healthy mycelium in the fruiting container?
Healthy tampanensis growth tends to be thicker, rope-like, and more localized. Cobweb-like mold spreads as a thin, wispy, lacey mat over the surface. If it responds quickly to collapsing with a light mist and airflow increase, that supports cobweb mold rather than your culture.
What humidity target should I aim for during fruiting, and how do I avoid over-misting?
Aim for roughly 85 to 95% humidity. Mist the container walls and avoid spraying the substrate or casing directly, because localized oversaturation can trigger bacterial wet rot or accelerate mold, especially in small monotubs.
My aborts happen right after pins appear, what’s the most likely fix?
Abort rates are commonly caused by brief casing drying, or temperature spikes above the mid to upper 70s. Check humidity more often and adjust your misting schedule, then prevent airflow patterns that create hot spots and rapid drying near the surface.
How do I know when to harvest fruiting bodies if I’m not sure about the veil stage?
Harvest right before or as the veil underneath the cap begins tearing. A practical cue is that the cap is still slightly convex, not fully flattened. If caps have already flattened and spores start dispersing, the timing is usually late for best results.
What’s the safest way to dry sclerotia and prevent them from staying leathery?
Use the lowest effective dehydrator setting and plan on multiple hours depending on size, then confirm by the snap test (cracker-dry, not bendable). If they bend or feel rubbery, they are not fully dry, and stored material is more likely to degrade or develop odor over time.
Can I re-use jars or substrate after a flush if I want more sclerotia?
Don’t expect the spent grain to re-colonize effectively for another full sclerotia cycle. For sclerotia, the reliable approach is starting a new inoculation with fresh sterilized substrate rather than trying to regenerate from exhausted material.
Are spore syringes always viable, and how can I reduce risk of using a bad syringe?
Spore viability varies significantly between sources. A simple risk reducer is keeping a backup syringe from a different vendor and starting fresh runs if you see little to no growth after a reasonable window, after also verifying temperature and grain moisture.