
You can grow ostrich fern (Matteuccia struthiopteris) from spores at home, but it takes patience and a specific setup. The process runs through two completely separate life stages before you see anything that looks like a fern: first a tiny green prothallus (the gametophyte), then the sporophyte that eventually becomes your recognizable fern plant. From spore to transplantable fern takes anywhere from 3 to 12 months depending on conditions. Get the moisture, light, temperature, and sterility right from the start and the process is straightforward. Get any of those wrong and you'll stare at a tray of nothing for months before realizing something went sideways.
How to Grow Ostrich Fern From Spores Step by Step
Marcus Holloway
31 May 2026
What you're actually growing (and why it looks so slow)

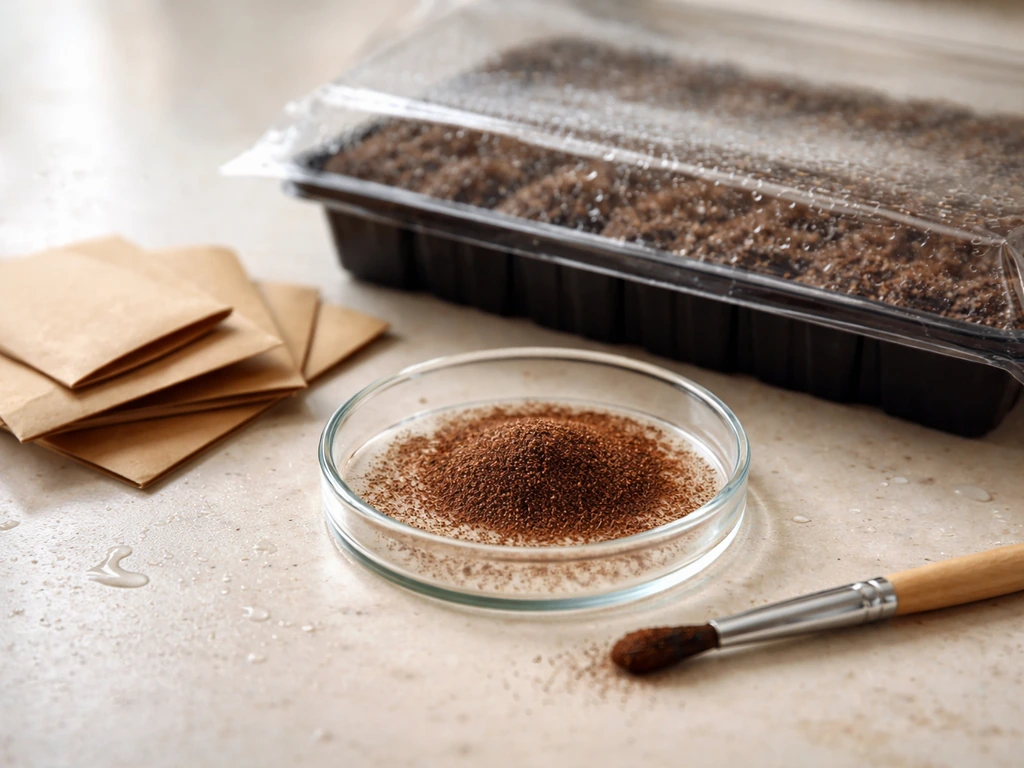
Ostrich fern spores don't sprout like seeds. Instead they go through an alternation of generations: the spore germinates into a flat, heart-shaped prothallus (haploid gametophyte), and only after that prothallus produces both sperm and egg cells, and fertilization occurs, does a sporophyte emerge with recognizable fern fronds. That's why you can have a tray of perfectly healthy green growth for weeks and still not see a single frond. It's not failing. It's just in phase one.
The first physical sign of germination is a rhizoid cell pushing out from the spore coat, which happens roughly 48 to 72 hours after the spore is properly hydrated. But you probably won't notice that with the naked eye. What you'll first visibly notice, usually 2 to 6 weeks in, is a fine green film or tiny green dots across the surface of your medium. That's your prothalli forming. After that, sporophyte emergence can take another 4 to 8 weeks or longer. The whole process genuinely requires months, not weeks, and that's completely normal for this species.
Understanding this two-stage cycle is important because it changes how you troubleshoot. If you're seeing green prothalli but no fronds after 6 weeks, you don't have a germination problem, you have a fertilization or moisture problem. If you're seeing no green at all after 6 to 8 weeks, that points back to viability, light, or sterility issues at the germination stage. Knowing where you are in the cycle tells you exactly what to check.
Getting spores and understanding viability before you start
Spore viability is the single biggest silent failure point in this whole process. Ostrich fern spores lose viability quickly compared to many other fern species, especially if they've been stored warm and dry. Studies on moisture-loving fern species (ostrich fern fits squarely in that category) show that storing spores at room temperature for 6 to 12 months can kill most of the viable spores. If you bought a packet last year and left it in a drawer, viability could already be very low.
Where to source spores
- Collect from wild or cultivated plants in late summer to early autumn. Ostrich fern produces separate fertile fronds (shorter, dark brown, vase-shaped) that hold the sori. Harvest when the sori are dark brown but before they've fully released.
- Buy from a reputable fern spore supplier who stores spores refrigerated and provides harvest dates.
- Join fern societies or online spore swaps where hobbyists share fresh-harvested material. Fresh spores from a home grower often outperform old commercial packets.
- Avoid any spore source that can't tell you when the spores were harvested or how they were stored.
Storing spores correctly until you're ready
If you're not sowing immediately, store your spores cold and dry. A sealed paper envelope inside an airtight container with a silica gel packet, kept in the fridge at around 5°C, will hold viability far better than room-temperature storage. Freezing at -20°C works even better for longer-term storage. Never store moist spores sealed up or they'll rot. Once you're ready to sow, let the container come to room temperature before opening it to prevent condensation on the spores.
Setting up for germination: containers, medium, and sterility
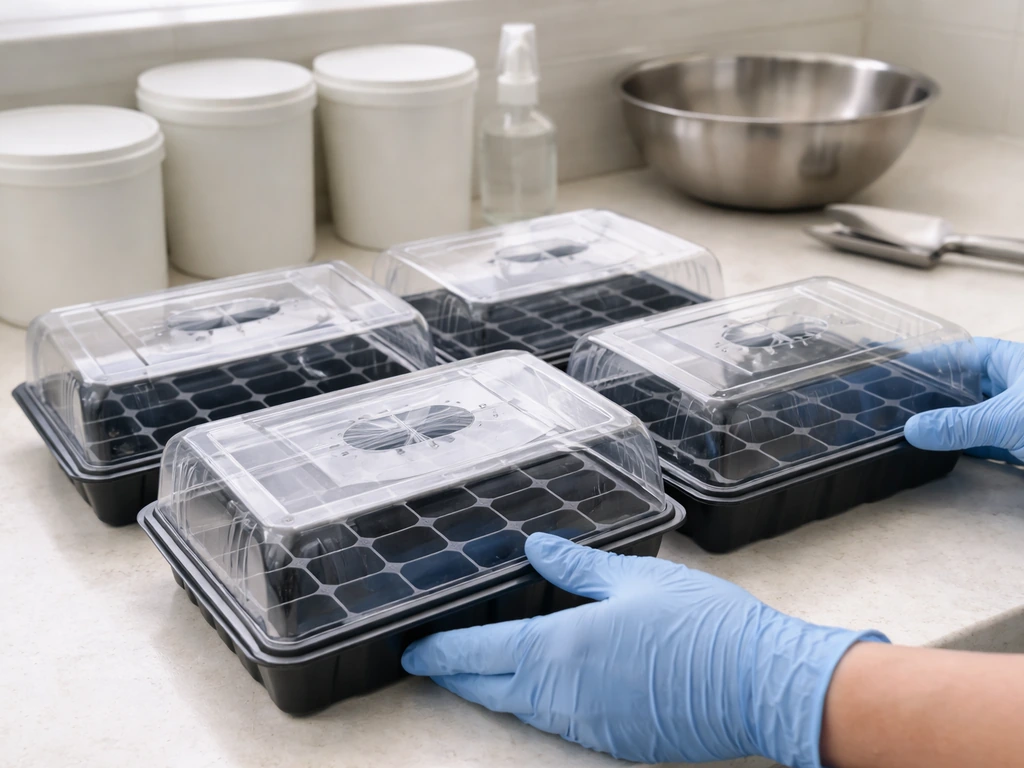
Sterility is non-negotiable here. Fungal spores and weed seeds are everywhere in the air, and they will germinate on your warm, moist growing medium faster than your fern prothalli do. The result looks like green or white fuzz crowding out and suffocating whatever fern growth you had. I've lost entire trays this way. The fix is straightforward: sterilize your medium before sowing.
Preparing the germination medium
Use a mix of peat-based seed-starting mix and perlite, roughly 2:1, or straight peat moss. The medium needs to hold moisture without becoming waterlogged. Fill your containers, firm the surface lightly, then pour boiling water slowly over the surface until it's thoroughly saturated. Let it cool completely with a loose cover (a plate or piece of cling film) to prevent recontamination while it cools. Don't sow until the medium is at room temperature.
Container choice
Small plastic seedling trays with clear humidity domes work well. So do disposable food containers with lids that you can crack open slightly for airflow. The goal is maintaining high humidity while still allowing some air exchange to prevent stagnant, mold-promoting conditions. Petri dishes are ideal if you have them, but not necessary. Whatever you use, wash it with hot soapy water and rinse with a dilute bleach solution before using.
Sowing the spores
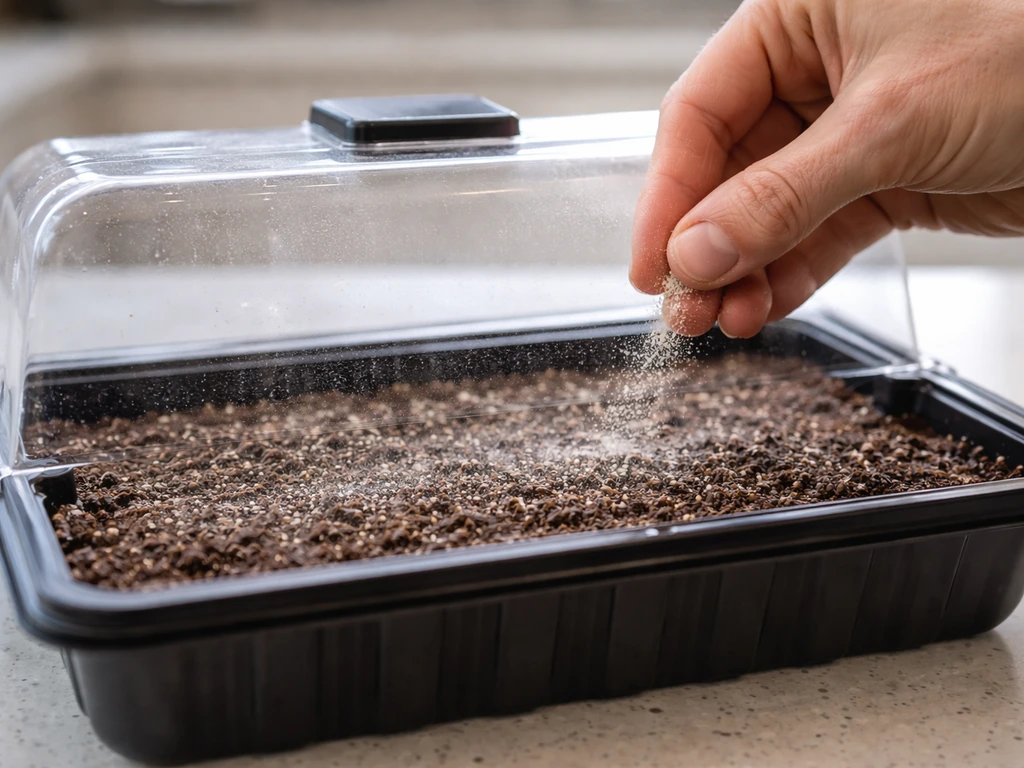
Sow thinly. A common mistake is sowing too densely, which leads to competition between prothalli and poor airflow at the surface. Tap a small amount of spore powder from the envelope and distribute it as evenly and lightly as you can across the cooled, moist medium surface. You don't need much. Don't press them in or cover them. Ostrich fern germination is light-dependent, meaning the spores need light exposure to germinate, so burying them will prevent germination entirely. Once sown, replace the lid or dome and move the container to your chosen growing location.
The right environment: light, temperature, and moisture
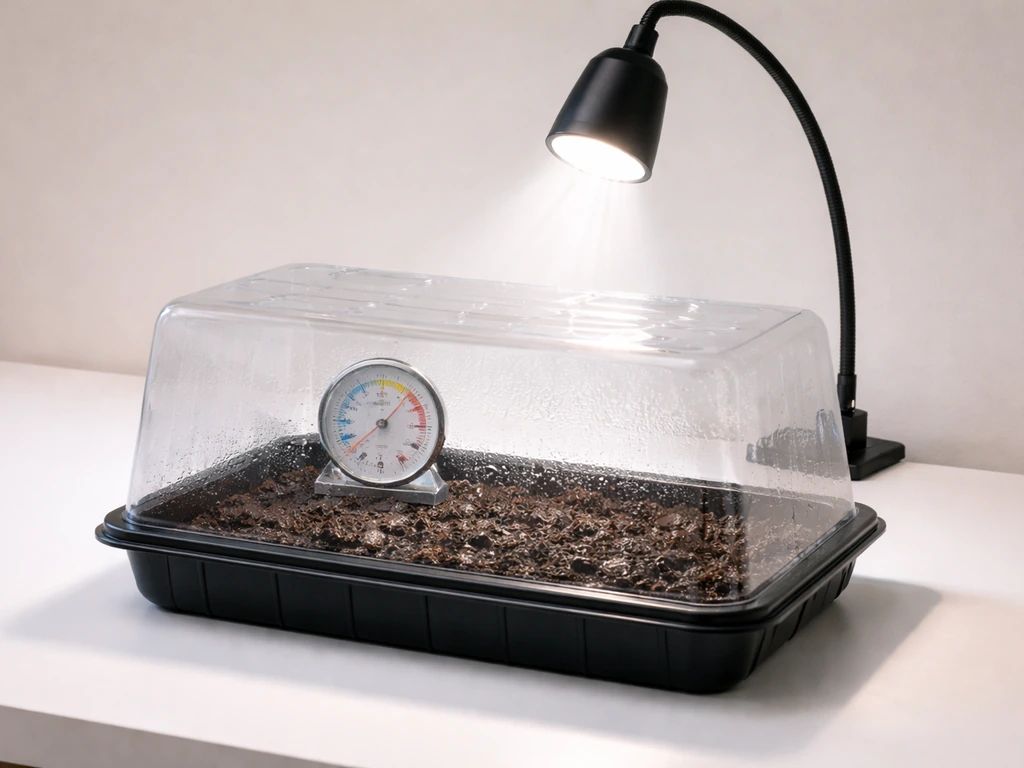
Getting these three factors dialed in is what separates successful germination from months of waiting for nothing. Ostrich fern spores are surprisingly specific about what triggers them to start growing.
| Factor | Target Range | What Goes Wrong Outside This Range |
|---|---|---|
| Light | Bright indirect light, 12–16 hours/day | No light = no germination; direct sun = drying and heat stress |
| Temperature | 18–24°C (65–75°F) | Below 15°C stalls germination; above 27°C promotes mold and drying |
| Surface moisture | Moist but not wet; never pooling water | Too dry = spores abort; too wet = damping-off and mold |
| Humidity | 80–95% RH under the dome | Low humidity dries the surface faster than misting can compensate |
For light, a north or east-facing windowsill works in summer. A fluorescent or LED grow light set on a timer for 14 hours a day is more reliable year-round and avoids the temperature swings of direct sun. Keep the light source about 20 to 30 cm above the container surface. Darkness will simply not work for this species, even with perfect moisture and temperature, so don't tuck the trays away in a cupboard.
For moisture, the rule is moist not wet. The surface should look damp and slightly shiny but never have standing water or puddled areas. Mist with a fine sprayer when the surface starts to look lighter in color (drying out), but don't soak it. Lifting the dome slightly every few days for 15 to 30 minutes gives you some air exchange and helps prevent the stagnant humid conditions that encourage mold while keeping humidity high enough for development.
Indoor vs outdoor germination
Indoor setups give you far more control and are recommended for spore germination. Outdoor germination is possible in warm, shaded, humid conditions but introduces contamination and environmental variability that makes troubleshooting almost impossible. If you want to try outdoors, wait until nighttime temperatures are reliably above 15°C, place containers in a shaded spot with good air humidity, and still sterilize your medium. RHS Plant Selector also lists minimum outdoor temperatures for Matteuccia struthiopteris, so avoid letting young growth experience too-cold conditions during establishment. For most home growers, indoors under a grow light or on a warm windowsill is the practical choice.
From spore to prothallus: what to expect and when to worry
The first visible sign is a green dusting or tiny green dots across the medium surface, usually appearing between 2 and 6 weeks after sowing under good conditions. These are your prothalli developing. Over the next few weeks they grow into flat, green, heart-shaped structures roughly 2 to 5 mm across. This is when fertilization happens, but fertilization requires a thin film of water on the prothallus surface so the sperm can swim to the egg. This is why maintaining surface moisture (not just humidity) matters so much at this specific stage.
After fertilization, the first true sporophyte leaf (a tiny frond, just a few millimeters) emerges from the prothallus. This can take another 4 to 10 weeks after prothalli first appear. So in total, expect roughly 2 to 6 months from sowing before you have anything that resembles a fern plant. A full year is not unusual if conditions were suboptimal early on.
Common stalls and what's actually happening
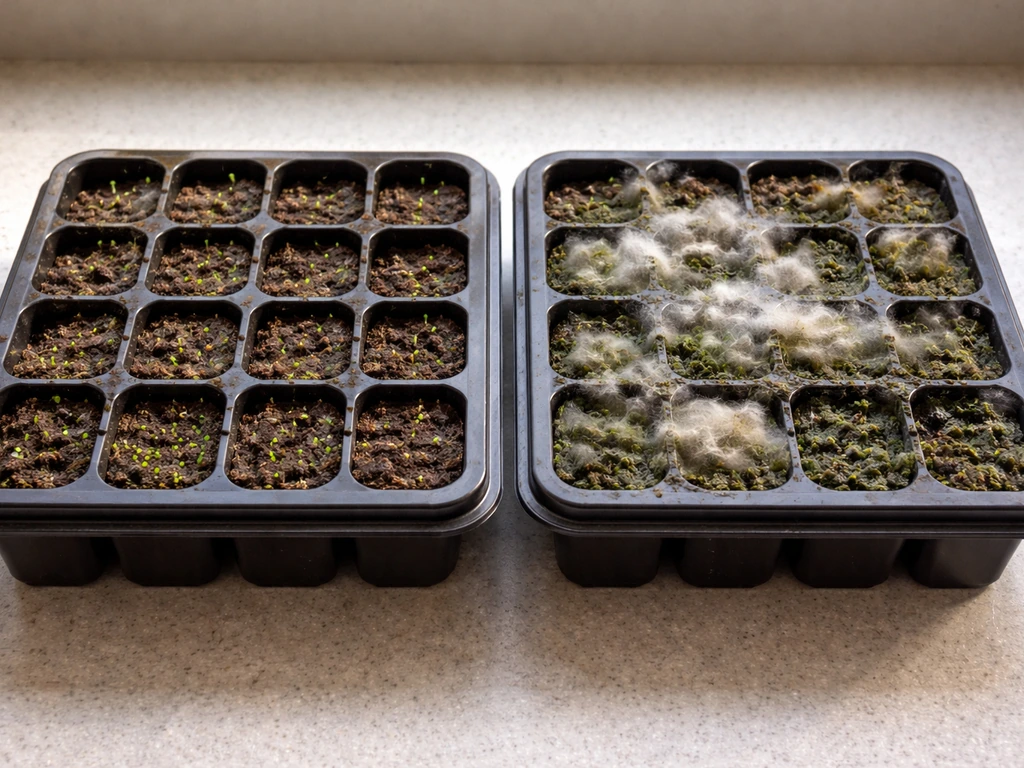
- No green after 8 weeks: Usually a viability problem, a light problem, or contamination that crowded out early growth. Check whether you can see mold or green algae instead of flat green prothalli. If the medium has white or gray fuzz, contamination has taken over.
- Green film appeared then disappeared: Almost always mold or algae outcompeting prothalli. This is a sterility failure. You'll likely need to start again with better-sterilized medium.
- Prothalli present but no sporophytes after 12 weeks: Often a moisture issue at fertilization. The prothalli need a literal water film for sperm to travel. Misting more frequently during this window helps.
- Patchy, uneven germination: Uneven moisture distribution across the container surface. Mist more thoroughly and rotate the container if it's near a light source that dries one side faster.
- Sudden die-off of prothalli: Damping-off fungus, usually caused by chronic overwatering combined with poor airflow. Ease back on misting and crack the dome open slightly more often.
Moving young ferns into a proper growing medium
Once sporophytes have developed their first few true fronds and are 1 to 2 cm tall, they're ready to be separated and moved into individual containers. This is a delicate stage. The young sporophytes still have minimal root systems, so handle them gently and keep them moist throughout the process.
- Prepare small pots with a moist, humus-rich mix. A blend of garden soil, compost, and perlite works well. Ostrich ferns naturally grow in heavy, constantly moist soil, so use a mix that retains moisture without becoming anaerobic.
- Use a small fork or toothpick to ease individual prothallus-sporophyte clusters out of the germination medium. Try to keep some of the original medium around the tiny roots.
- Plant each young fern at the same depth it was growing, just deep enough to anchor the developing rhizome without burying the crown.
- Water thoroughly after transplanting, then allow the medium to dry slightly between subsequent waterings. This 'water well then let it breathe' rhythm prevents crown rot while keeping moisture available.
- Keep transplants in the same light and temperature conditions as germination for at least 2 to 4 weeks before moving to a brighter or more exposed location.
The rhizome and crown system is the long-term engine of ostrich fern growth. Once you have a defined crown establishing, the fern will start producing fronds with more regularity. At this stage the plant shifts from being fragile to being reasonably robust, but it still needs consistent moisture. Don't let the root zone dry out completely at any point during the first growing season.
Keeping young ferns healthy as they establish
Ostrich fern is a moisture lover by nature, so once you have established young plants the care strategy shifts toward consistent hydration rather than the careful moist-not-wet balance of the spore stage. Water thoroughly when you water, and then let the top centimeter of soil surface dry slightly before watering again. Never let the root zone become bone dry. In containers, this might mean watering every 2 to 4 days in warm weather.
Temperature matters more at this stage than people expect. Keep young ferns above 10°C to avoid growth stalls. These are cold-hardy plants once established outdoors, but young container-grown sporophytes raised from spores are more vulnerable to cold stress before they've developed a proper rhizome system. If you're hardening them off for outdoor planting, do it gradually over 2 to 3 weeks.
Troubleshooting ongoing growth problems
- Mold on soil surface: Usually a sign of overwatering combined with poor airflow. Let the surface dry more between waterings and improve air circulation around the containers.
- Yellowing fronds: Could be low light, low humidity, or waterlogged roots. Check drainage first, then assess light levels.
- Fronds browning at tips: Almost always low humidity or dry air. Group pots together to raise local humidity, or place containers on a pebble tray with water.
- Uneven growth across a tray: Uneven moisture, uneven light, or crowding. Thin out any overcrowded areas and rotate trays regularly if using a single-direction light source.
- No new fronds forming after weeks: Check temperature (below 15°C stalls growth significantly) and moisture levels at the root zone. A slightly undersized container can also restrict rhizome development.
Growing ostrich fern from spores shares a lot of the same underlying logic as other spore-based propagation projects, including the sterility principles you'd apply when growing mushrooms from spores or working with fern spores more broadly. If you want to grow mushrooms from spore prints, the approach is similar: keep everything clean and manage moisture carefully from the start mushrooms from spores. If you're also working with mushroom cultures, learning how to grow mushroom spores from syringe can help you apply similar sterility habits. The same approach also applies to how to grow mushrooms from spores, especially around sterility and moisture control. The contamination management, the patience with slow developmental stages, the importance of moisture calibration rather than simple wet-or-dry thinking: all of it overlaps. If you've already worked with spore propagation in other contexts, you'll find the skills transfer directly.
The most useful thing you can do today, if you're just starting, is source fresh spores and get your germination containers sterilized and ready. For more detail on spore germination steps specific to staghorns, see our guide on how to grow staghorns from spores. If you already have spores sown and nothing is happening, work through the checklist: check light exposure first (darkness kills germination for this species), then check for mold or contamination competing with prothalli, then question spore viability. You can use the same careful spore-handling and germination setup to grow maidenhair fern from spores too. Most stalled ostrich fern spore grows trace back to one of those three causes, and all three are fixable or restartable with minimal cost.
FAQ
Can I keep the humidity dome fully closed the whole time?
Yes, but only if you keep the prothalli stage in mind. After you first see the green dots, the prothalli still need a consistently damp surface for fertilization, but you should avoid puddling. If your dome is always sealed tight, crack it slightly or lift it briefly so air exchange prevents mold.
What if I accidentally cover the spores or bury them slightly? Will they still grow?
No. Covering the sown surface or burying the spores prevents germination because ostrich fern spores are light-dependent. If you accidentally pressed them in or spread too thickly, gently lift off any crusty top layer and resow very lightly on fresh, sterilized medium rather than trying to “rescue” buried spores in place.
How wet should the growing medium be during germination (moist vs soaked)?
Aim for a surface that looks evenly damp and slightly shiny, not pooling water. A practical cue is to mist only when the surface starts to look lighter, and to stop watering if you can see droplets forming. Too-wet conditions usually show up as fuzzy mold that crowds out prothalli.
How do I tell whether my delay is a germination issue, fertilization issue, or contamination? (What timeline should I expect?)
Track timing separately for each stage. If you see green prothalli, fertilization is the likely bottleneck when no sporophytes appear after about 6 weeks from prothallus onset, often caused by inadequate surface film moisture. If there are no green specks by around 6 to 8 weeks from sowing, the more likely cause is low spore viability, insufficient light, or sterility problems.
How can I tell if my spores are still viable before I invest months in setup?
Room-temperature storage is the biggest risk. If your packet has been stored warm and dry, assume viability may be low. Buy fresh when possible, or test a small quantity first in a properly sterilized tray so you can decide whether it is worth continuing with that batch.
Should I thaw frozen spores before sowing, and what’s the best way to prevent condensation?
Don’t re-freeze or repeatedly warm and cool the spores. Let refrigerated or frozen spores come to room temperature while still sealed, then open only when you can sow promptly. Condensation during opening can wet the spores prematurely and reduce viability or increase contamination.
Can I use a sunny window instead of a grow light for germination?
Yes, and it can increase losses. Strong direct sun can overheat containers, driving moisture swings and slowing early development. Use filtered light or position the tray so the surface receives bright, consistent light, or rely on a grow light at a steady distance.
Once I start seeing growth, do I water on a schedule or only based on how the surface looks?
It depends on your conditions. If the medium stays consistently moist and clean, watering is usually less about a strict schedule and more about surface cues. When you move into the frond-producing stage, switch to deeper watering with a short dry-down at the top, but during the prothalli stage do not let the surface fully dry.
What should I do if I spot mold or green algae on the tray?
In most cases, removing algae or mold is better than leaving it to expand. If you see fuzzy growth covering large areas, the safest approach is to discard that tray and restart with sterilized medium, because spores and fungal growth can spread to neighboring setups. For minor spotting, improving sterility and airflow may help, but it is hard to fix if the contamination has already overrun.
My tray shows green prothalli but no new fronds. What usually fixes it?
If you see only a few scattered green dots but nothing turns into sporophytes, fertilization conditions are often off. Ensure the surface maintains a thin film during that transition period, and keep humidity high without water pooling. Also check that light is continuous enough, because darkness can shut down germination entirely.
How should I separate sporophytes into individual pots without harming them?
Yes, but do it carefully because the young sporophytes are delicate and easy to damage. Handle by the surrounding medium rather than pulling, keep them moist immediately after separation, and use individual containers with the same moisture-retentive medium so they do not dry while you’re transplanting.
Do I need fertilizer for ostrich fern raised from spores, and when should I start?
Feeding is generally unnecessary during the earliest sporophyte stage. Focus on stable moisture and light first. If you want to fertilize later, wait until the plant has established a clear crown and several fronds, and use a weak fertilizer at low frequency rather than adding nutrients when roots are still minimal.