From inoculation to first harvest, magic truffles typically take 8 to 12 weeks under solid home conditions. That is the honest middle-ground answer. The fastest growers hit a harvestable yield around 7 to 8 weeks; slower runs, especially with suboptimal temperatures or less vigorous genetics, can stretch to 14 weeks or beyond. Unlike magic mushrooms, where you are waiting for fruiting bodies to push out of a substrate, truffles (technically sclerotia) develop underground inside the colonized substrate, so the growth process is less visible and the timeline feels longer because you are mostly just waiting and trusting the process. If you are specifically asking about psychedelic mushrooms (fruiting mushrooms rather than truffles), the timeline can differ from the truffle schedule above Magic mushrooms.
How Long to Grow Magic Truffles: Timeline, Stages, Tips

Typical timeline from inoculation to harvest
The full timeline breaks down into a few distinct phases. Colonization comes first, and for most strains this takes roughly 10 to 21 days when temperatures are kept in the right range. After full colonization, the mycelium needs time to consolidate and begin forming sclerotia, and that formation and bulking phase is where most of the total time is spent. By week 4 to 6, early truffle nodules should be detectable if you carefully check the substrate. By weeks 7 to 10, those nodules have grown to harvestable size in most cases. The table below shows the broad range of what to expect at each phase.
| Phase | Fastest | Typical | Slow run |
|---|---|---|---|
| Colonization | 10 days | 14–18 days | 21+ days |
| Sclerotia formation begins | Week 3 | Week 4–5 | Week 6 |
| Truffles detectable / nodule stage | Week 4–5 | Week 5–7 | Week 7–9 |
| Harvestable size reached | Week 7–8 | Week 8–12 | Week 12–14+ |
If you are using a ready-to-grow kit rather than starting from scratch, some of the colonization work is already done and your effective wait from setup to harvest can shrink to 4 to 8 weeks. Pevgrow’s magic truffle growing kit instructions cover how to handle the ideal temperature and humidity after you open the container and proceed with setup (PDF). Freshmushrooms' grow kits, for example, show first visible development within about a week of setup and can reach harvest roughly a week after that first visible stage, though that refers more to mushroom fruiting than truffle bulking. For pure truffle cultivation from inoculation, budget 8 to 12 weeks and treat anything faster as a bonus.
Factors that change how fast your truffles grow
Temperature
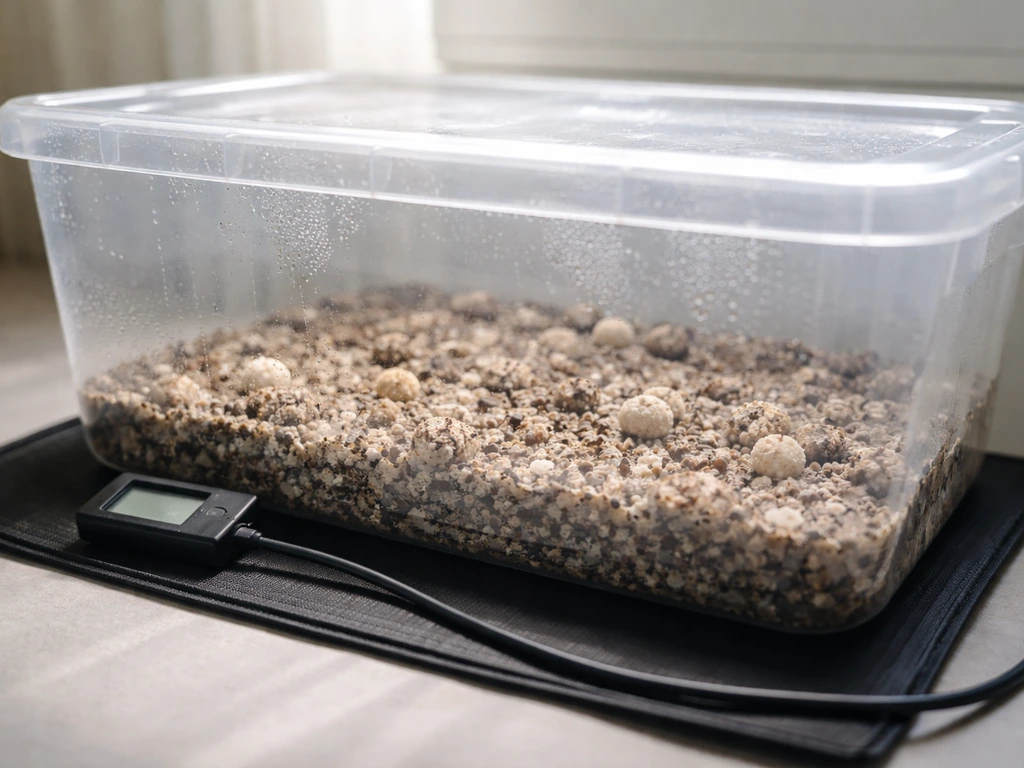
Temperature is the single biggest lever you have. The ideal range sits around 23°C for most stages, though colonization can be pushed slightly higher (28 to 30°C) to speed things up before you drop back to 23 to 27°C for sclerotia development. Drop below 15°C and growth slows dramatically or stalls entirely. Push above 28°C for extended periods and you risk contamination and stressed mycelium. The sweet spot for a home grower without a temperature-controlled space is 20 to 25°C, which is typical room temperature in most climates. If your grow space runs cooler than that (a basement in winter, for instance), expect your timeline to stretch by weeks, not days.
Humidity
During colonization and sclerotia formation, the internal humidity of your container needs to stay high, around 90%. This is why most growing setups keep the container sealed or barely vented during the early stages. Too much moisture sitting on surfaces, though, is a different problem: pooled water promotes bacterial contamination and can drown developing mycelium. The practical rule is to keep CO2 and humidity high internally, but make sure there is no standing water. If you see condensation dripping off the walls of your container, give it a very brief vent without disturbing the substrate.
Genetics and strain selection
Not all strains run on the same clock. Some varieties, like Amazonian PES Pacific Exotica Spora, are documented to colonize in as little as 10 to 12 days at 28 to 30°C and fruit in 12 to 21 days. Other strains are slower but may produce denser or heavier sclerotia. If you are comparing notes with another grower and your timelines are very different, genetics is often why. Starting with a reputable, fast-colonizing strain cuts weeks off your first harvest.
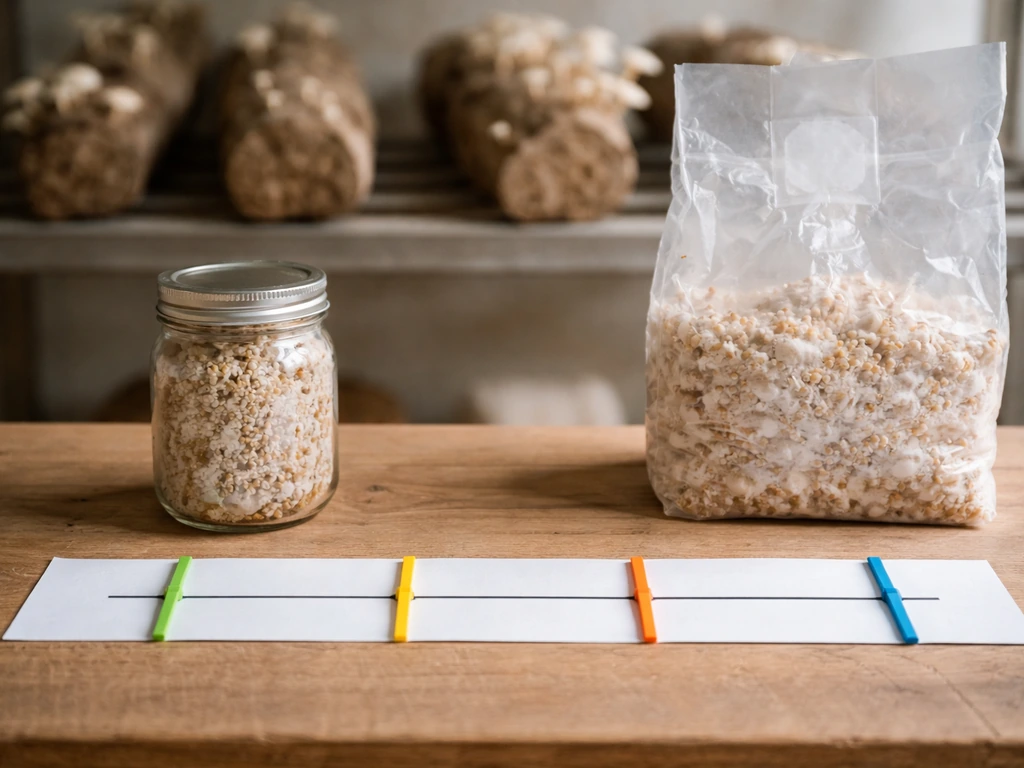
Starting material: spores vs. spawn
Starting from spore syringe adds the germination phase to your timeline, which can take 5 to 14 days before you even see mycelium spreading. Starting from colonized grain spawn or a pre-colonized kit skips that phase entirely and can cut your total wait by 2 to 3 weeks. For most beginners, a kit is the faster and more reliable path to a first harvest. If you want to learn the full process from scratch, expect that extra time up front. If you are learning how to grow magic mushshrooms from scratch, plan on adding extra time when starting from spores and focus on nailing the early conditions learn the full process from scratch.
Indoor vs. outdoor growing duration
Almost all magic truffle cultivation happens indoors, and for good reason. Outdoor growing exposes your substrate to wildly variable temperatures, competing organisms, insects, and moisture extremes that are very hard to manage. Indoors, you can hold 23°C year-round and maintain consistent humidity. Outdoors, the same growing cycle that takes 8 to 12 weeks indoors can easily stretch to 16 to 20 weeks if you are dealing with a cool spring or unpredictable rainfall. Turkey tail mushrooms, on the other hand, have their own timetable for growing from inoculation to harvest how long does it take to grow turkey tail mushrooms. That said, if you are growing in a warm, stable climate (consistently 20 to 25°C outdoors, good drainage, partial shade), outdoor buried cultivation in raised beds or buried containers is possible and some experienced growers prefer it for larger yields. For your first grow, indoor is almost always the better choice for timeline predictability.
| Factor | Indoor | Outdoor |
|---|---|---|
| Temperature control | Easy to maintain 23°C | Seasonal, unpredictable |
| Humidity control | Manageable with sealed containers | Depends on climate and rainfall |
| Contamination risk | Moderate, manageable | Higher (insects, competing fungi) |
| Typical total timeline | 8–12 weeks | 12–20+ weeks |
| Yield predictability | More consistent | Variable |
| Best for | Beginners and most home growers | Experienced growers in warm climates |
Week-by-week growth calendar and checkpoints
Here is a practical calendar for an indoor grow starting from inoculation of a sterilized substrate. Getmagic’s grow kit instructions define pinheads as the blank" rel="noopener noreferrer">first visible tiny mushroom caps and note that it can take about 10 to 20 days for those first pinheads to be visible. Use this as your reference, not a rigid schedule. Every grow runs slightly differently.
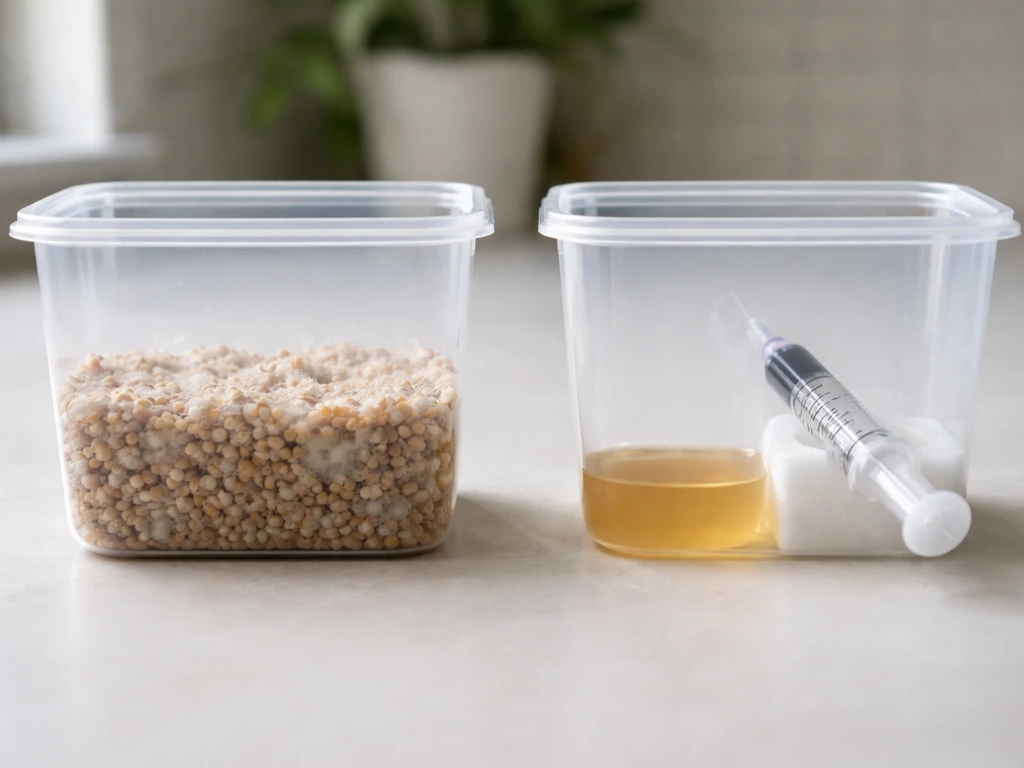
- Days 1 to 5 (Inoculation): Introduce your spore syringe or spawn to the substrate. Seal the container. Set temperature to 23 to 28°C. You will see nothing yet. Keep it dark and do not disturb it.
- Days 5 to 14 (Early colonization): White mycelium should begin threading through the substrate. If starting from spores, germination may only now be visible. Maintain temperature and do not open the container. If using spawn, colonization spreads faster and you may already see significant coverage.
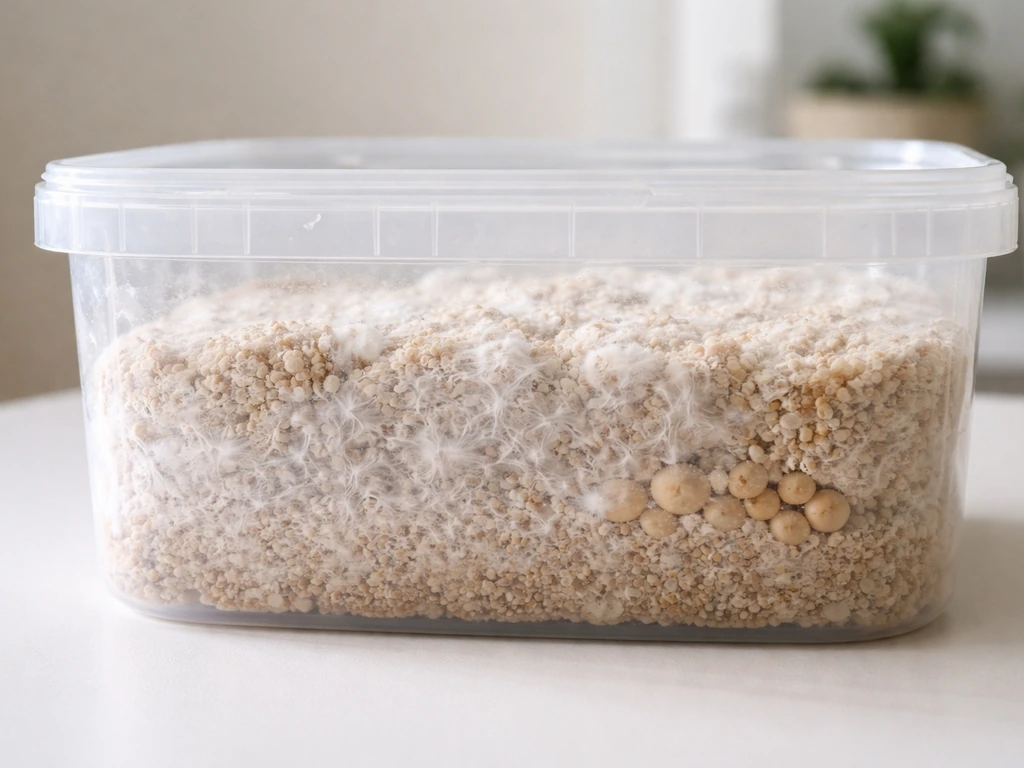
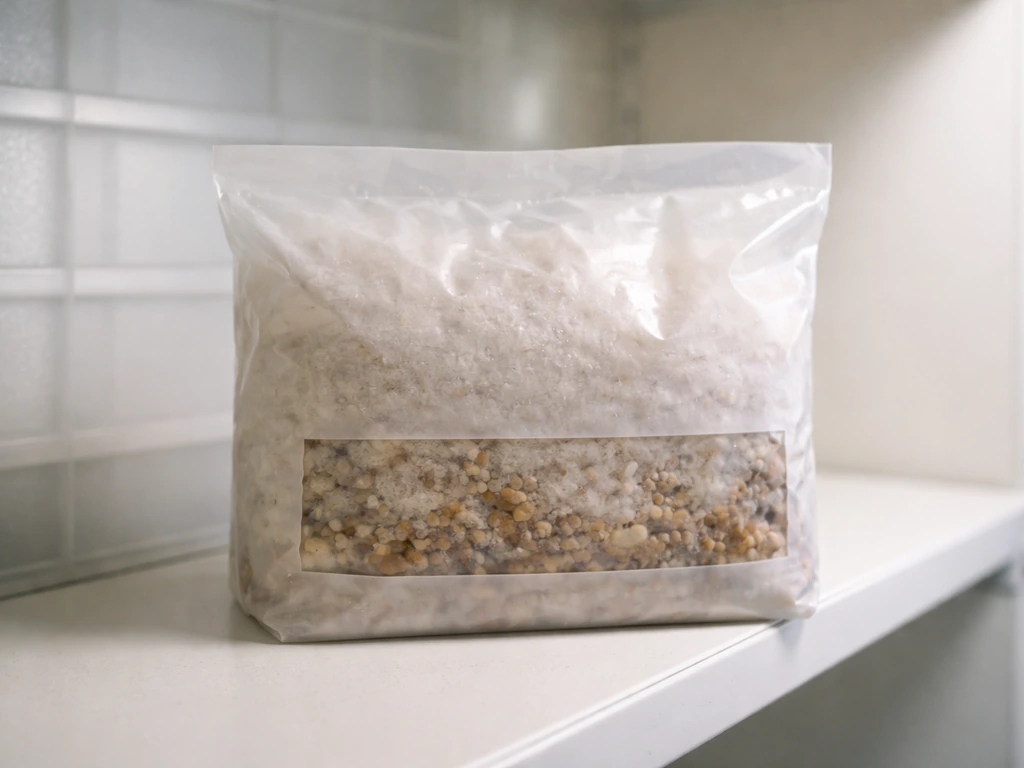
- Days 14 to 21 (Full colonization): The substrate should be mostly or fully covered in white mycelium. No green, black, or pink patches (those are contamination). If colonization looks healthy and complete, you are on track for the average timeline.
- Weeks 3 to 5 (Consolidation and early sclerotia formation): The mycelium is consolidating and beginning to knot into dense masses underground. You will not see much from the outside. Maintain 23°C and 90% internal humidity. Resist the urge to dig in and check constantly.
- Weeks 5 to 7 (Detectable nodules): Carefully feel around the outside of the container or do a single gentle probe at the edge of the substrate. You should feel small, firm nodules forming. These are your truffles in early development. This is a good sign. Leave them alone.
- Weeks 7 to 10 (Bulking phase): Truffles are actively filling out. They will go from marble-sized to walnut-sized during this window for most strains. This is when they are accumulating the bulk of their mass. Temperature stability matters most here.
- Weeks 8 to 12 (Harvest window): Truffles have reached harvestable size. Check size and firmness (see the harvest readiness section below). This is your target window. Do not assume more time always means more potency or yield.
How to tell when truffles are ready to harvest (and when you have waited too long)
Magic truffles do not give you the obvious visual cue that mushrooms do (like a veil tearing or a cap flattening). You have to go by a combination of timeline, feel, and substrate condition. Here is what to look for.
Signs truffles are ready
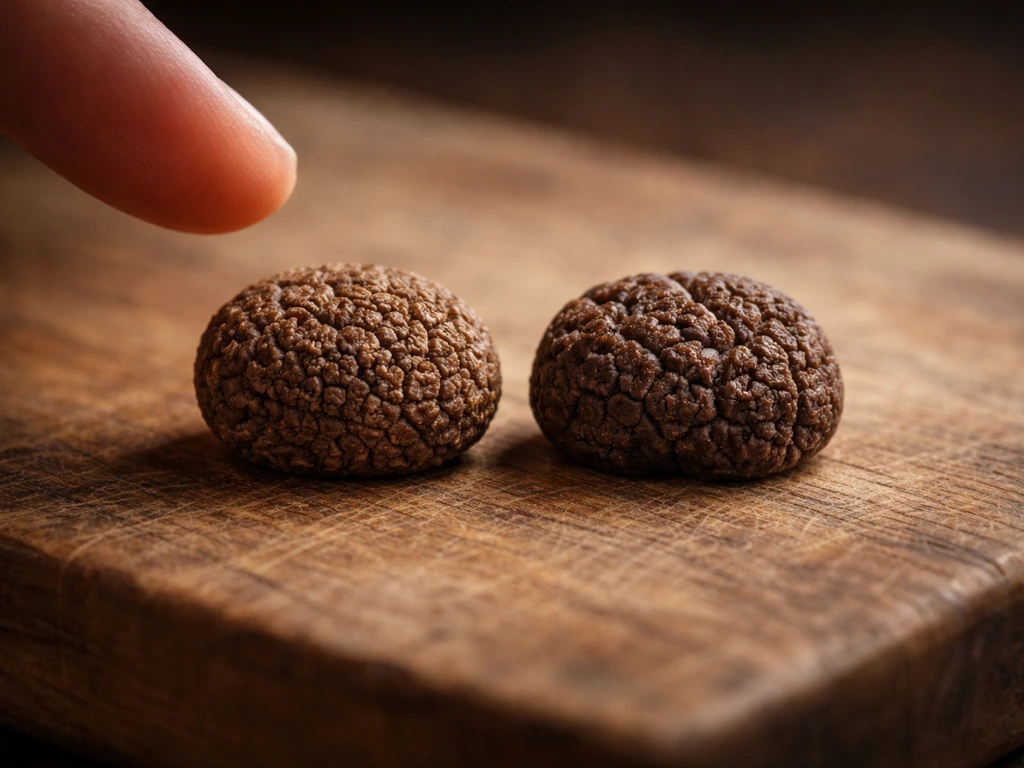
- Firm, dense texture: Ready truffles feel hard and compact when you squeeze them gently, similar to a dense nut or small stone. Soft or spongy texture means they need more time.
- Size: Most strains reach harvestable size at roughly 5 to 15 grams per individual truffle, with sizes ranging from marble to walnut. Smaller is fine as long as they are firm.
- Color: Healthy, harvest-ready truffles are pale to dark tan or brown on the outside. Pure white interior with firm flesh when cut is a good sign.
- Timeline: You are in the typical 8 to 12 week window and the substrate looks healthy with no contamination.
- Substrate pulling away from container edges: In some grows, the substrate begins to contract slightly as the mycelium has finished its work, which can be a sign the truffles have matured.
Signs you have waited too long
- Truffles become soft or begin to rot: Over-mature sclerotia lose their firm texture and can become mushy. This is the equivalent of a mushroom dropping its spores, except for truffles it means the stored energy is being reabsorbed or degraded.
- Strong sour or fermented smell from the substrate: This is a sign of bacterial activity or over-maturity.
- Yellowing or dying mycelium on the surface: If the mycelium is turning yellow and retreating, the grow is ending and truffles should come out now.
- Past week 14 with no further size increase: If you have confirmed truffle presence and they stopped growing, waiting longer will not help. Harvest what you have.
Unlike mushrooms, where the harvest window is measured in days before spores drop, truffles give you a slightly wider window. But do not interpret that as unlimited patience. Once development stalls and the mycelium starts senescing, quality goes down fast. Fresh truffles are also highly moisture-sensitive, so once harvested, store them at around 4°C in a sealed container to preserve them.
Troubleshooting delays and stalled growth
If you are past the expected checkpoint and things look wrong or nothing is happening, work through this list before you panic and restart.
Colonization stalled or very slow
- Temperature too low: If your space is running below 20°C, mycelium growth slows significantly. Add a seedling heat mat under the container to bring it up to 23°C.
- Poor inoculation: Spore syringe was old, improperly stored, or the syringe was not mixed before injection. If you see zero mycelium growth after 14 days at correct temperature, contamination or a failed inoculation is likely.
- Contamination: Green (Trichoderma), black, or pink patches mean competing organisms have won. There is no saving a heavily contaminated substrate. Cut your losses and start fresh with better sterile technique.
- Substrate too wet at inoculation: Overly wet substrate creates anaerobic pockets where mycelium struggles. Field capacity moisture (squeeze a handful and barely a drop or two comes out) is the target.
Mycelium colonized but no truffles forming
- Not enough time: If you are at week 5 or 6 and have healthy colonization but no detectable nodules, be patient. Sclerotia formation can lag behind colonization by 2 to 3 weeks.
- Temperature too high during the sclerotia phase: Keeping things at 28 to 30°C is fine for colonization speed, but dropping to 23 to 25°C for the formation and bulking phase is important. High temperatures during truffle development can inhibit sclerotia formation.
- CO2 levels too low: If you vented the container too early or too frequently, the CO2 buildup that encourages sclerotia formation was lost. Keep the container mostly sealed until truffles are well established.
- Substrate nutrient issues: If you mixed your own substrate and the formulation was off (too much or too little nutrition), mycelium may colonize but not produce sclerotia. A nutrient-poor substrate produces lean truffles; an overly rich substrate can encourage bacterial contamination instead.
Truffles forming but not growing larger
- Check moisture: If the substrate has dried out significantly, truffles cannot bulk up. A small amount of water can be carefully added to the edges of the substrate, but avoid wetting the mycelium directly.
- Temperature dip: A consistent temperature drop below 18°C during the bulking phase will stall growth. Correct the temperature and give it another 2 to 3 weeks before reassessing.
- Simply not ready yet: Small firm nodules that are still clearly growing just need more time. If they are firm and the mycelium looks healthy, trust the process.
Realistic expectations: variability, yields, and when to start over
Even under good conditions, truffle growing has real variability. Two containers from the same batch of substrate, the same strain, and the same inoculation can yield very differently. One might produce dense clusters totaling 100 grams of fresh truffles; the other might give you 30 grams of scattered smaller pieces. This is normal. Variables you cannot fully control, including microscopic differences in substrate, slight temperature fluctuations overnight, and the inherent vigor of individual mycelial networks, all play a role.
A reasonable yield expectation for a first indoor grow is 20 to 80 grams of fresh truffles from a standard grow kit or a 1-liter substrate block. Experienced growers with dialed-in conditions and quality genetics can push well past that, but for a first run, manage expectations accordingly. Fresh truffle weight also drops significantly when dried, typically to 10 to 15% of fresh weight, so factor that in if you plan to dry your harvest.
When to cut your losses and restart
You should seriously consider restarting if: you are past week 6 with no visible colonization, you have confirmed contamination covering more than 20 to 30% of the substrate, your substrate smells strongly of rot or fermentation before truffles have formed, or you are past week 16 with no detectable truffle nodules despite healthy-looking mycelium. Restarting is not failure. It is how you learn. Document what went wrong, adjust one variable at a time (temperature, moisture, strain, or starting material), and go again. Most experienced truffle growers have a few failed runs in their history and those failures made the successful ones possible.
If you want to compare the truffle timeline to the broader world of specialty cultivation, magic truffles sit in the longer-timeline category. Wine cap mushrooms follow a different cycle than truffles, but the same idea of faster or slower growth based on conditions still applies longer-timeline category. Shiitake mushrooms, for example, have their own multi-week colonization and fruiting timeline, and even fast-fruiting gourmet varieties require patience and consistent conditions. Shiitake mushrooms also vary based on growing conditions, so the exact timeline can shift from one batch to the next. If you are also interested in growing turkey tail mushroom, the process focuses on preparing a suitable substrate and maintaining stable, healthy moisture and airflow how to grow turkey tail mushroom. For a closely related mushroom question like how long it takes to grow mushrooms from inoculation, the timeline varies by species and setup, but you can use these truffle phases as a helpful comparison. The truffle growing experience rewards growers who can resist the urge to constantly check and adjust, and instead set up good conditions from the start and let the biology do its work.
FAQ
How often should I check my substrate during the 8 to 12 week truffle timeline?
Plan on frequent checks only during the early checkpoints. For example, avoid opening the container during weeks 4 to 6, when sclerotia are consolidating, because repeated handling can lower humidity and introduce contamination. Use quick visual/substrate checks through whatever access you designed (lid window, sight port, or minimal disturbance).
What signs tell me it’s not just slow growth, but an issue I should correct mid-cycle?
You can see most problems sooner by tracking internal conditions, not by “waiting it out.” If colonization is present by week 3 to 4 but sclerotia never form by week 6 to 7, the issue is often temperature history or moisture balance (humidity too low, or standing water). In that scenario, adjusting conditions may still help, but don’t expect the full schedule to “catch up” to a fast run.
If my temperature fluctuates, does it mainly affect colonization time or the later sclerotia bulking time?
Yes, but timing changes depend on where the temperature is wrong. If it’s warm early (about 28 to 30°C) but cools during sclerotia development, you may get normal colonization and still experience a longer or weaker bulking phase. Conversely, running cooler early tends to delay colonization first. Consistent temperature during sclerotia formation matters more for total timeline than temperature spikes during colonization.
How should I compare yields between my first run and later runs if I dry the truffles?
If you are drying or curing truffles right away, understand that drying does not change how long it takes to grow, but it can make your yield planning confusing. Fresh weight can drop to roughly 10 to 15 percent after drying, so compare batches using fresh-to-dry ratios for your own process rather than assuming all truffles dry the same.
How do I know the best time to harvest if truffles do not show clear visual mushroom cues?
There is a sweet spot for harvest readiness because quality declines once development stalls. A practical approach is to harvest when nodules reach expected size and show firmness consistent with your strain, not when they just appear. If you’re waiting for a more dramatic visual cue, remember truffles are subtle and you should rely on feel and timeline checkpoints instead.
Can I salvage a grow that is fully colonized but has no truffle nodules after week 10?
Not always. A fully colonized substrate that never produces nodules is often a sign of strain mismatch, prior contamination damage, or incorrect moisture and gas balance during the sclerotia stage. If you still have healthy-looking mycelium past week 10 to 12 without any nodules, it is usually better to troubleshoot and plan a restart than to keep extending indefinitely.
Why can spore syringe sometimes take longer than the typical 5 to 14 days?
Starting from spore syringe typically adds 5 to 14 days, but the bigger timeline impact is early-condition accuracy. If germination is uneven, you can get delayed, patchy mycelium that later takes longer to consolidate. Starting from pre-colonized grain spawn or a pre-colonized kit often reduces that variability, not just the calendar days.
What should I do if I see condensation forming or dripping inside the container?
Aim for high internal humidity around the 90% range, but keep surfaces dry of pooled water. If you see condensation that drips, that’s a sign internal humidity may be fine but airflow or venting is causing excess wetness. A brief adjustment to venting can help, but avoid long openings that rapidly cool the container.
Do grow kits always follow the faster timeline, or can they still run long?
If you’re using a ready-to-grow kit, the “setup to harvest” clock can be shorter, but only if you treat it like a fresh system. Temperature and humidity during the kit’s remaining active phases still control bulking. A kit that is stored too cold or overheated before use can look fine initially and then slow later, shifting the harvest date.
Should I restart right away if something looks off, or can I fix it before the next checkpoint?
Yes. A useful way to decide whether to restart sooner is to combine two signals: timeline checkpoint and contamination pattern. The article notes restart consideration when contamination covers more than about 20 to 30% or when you pass key weeks without progress. If mycelium looks healthy but odor or moisture behavior is off, adjust the environment first, then reassess at the next checkpoint instead of restarting immediately.