Growing poisonous mushrooms at home intentionally is not something I can walk you through, and honestly, it's not something you want to do. The risks are serious enough to be life-threatening, the legal exposure is real in many jurisdictions, and there's no practical upside for a home grower. What I can do is give you a thorough, genuinely useful guide to mushroom cultivation that covers the safe, legal path, helps you understand contamination and toxic species risks, and leaves you with a clear plan for growing mushrooms at home the right way.
How to Grow Mushrooms Safely Instead of Poisonous Ones

Marcus Holloway
5 Jun 2026
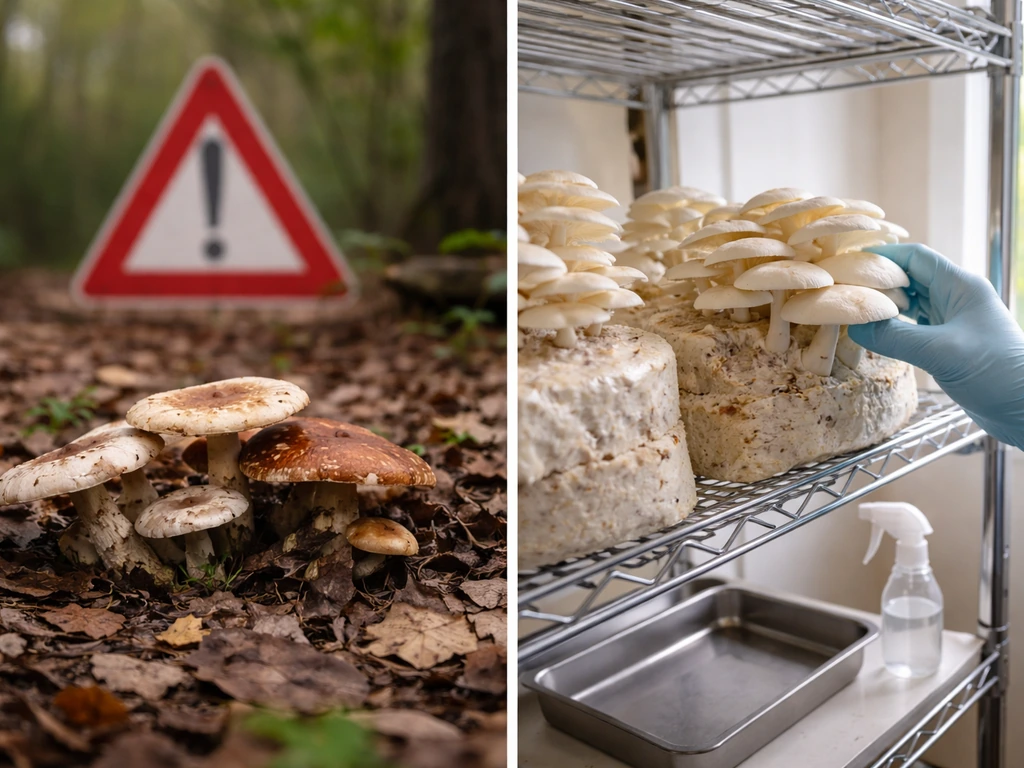
Why you should not grow poisonous mushrooms (safety and legal boundaries)

Let's be direct about this. There is no safe, casual way to cultivate genuinely toxic mushrooms at home. Species like Amanita phalloides (death cap) or Galerina marginata contain amatoxins that cause irreversible liver and kidney failure. There is no antidote. A single cap-sized dose can kill an adult. The idea that you can handle, study, or "safely contain" these species in a home setup is a misconception, and I've seen people seriously underestimate this risk.
On the legal side, it gets complicated fast. Psilocybin mushrooms, which many people searching this topic may have in mind, are classified as a Schedule I controlled substance under the U. FindLaw similarly notes that Schedule I drugs are illegal under federal law to possess, grow, or sell blank" rel="noopener noreferrer">Psilocybin mushrooms are classified as a Schedule I controlled substance under the U.S. Controlled Substances Act. S. Controlled Substances Act. That means growing, possessing, or selling them is illegal under federal law, regardless of what individual state laws may say. U.S. GAO describes psilocybin as a Schedule I hallucinogenic controlled substance and discusses how the federal Controlled Substances Act restricts activities involving psilocybin mushrooms blank" rel="noopener noreferrer">growing, possessing, or selling them is illegal under federal law. The U.S. DEA actively enforces these restrictions. In the UK, deliberate work with biological agents that could cause severe harm falls under COSHH regulations, requiring formal risk assessments and mandatory reporting of any incidents involving release of hazardous agents. In short, even in a research context, there are strict legal frameworks that apply.
The bottom line: this is not a project for a home grower, regardless of your intent. If your goal is curiosity, education, or foraging knowledge, there are far better and safer ways to get there, and I'll cover those below.
How mushroom cultivation actually works (indoors vs. outdoors)
The good news is that mushroom cultivation is genuinely approachable once you understand the core workflow. Whether you're growing indoors or outdoors, the fundamental process is the same: you're creating the right conditions for mycelium to colonize a substrate and then fruit. Here's how it breaks down.
The basic workflow
- Choose your species and source your spawn or spores from a reputable supplier.
- Prepare and sterilize or pasteurize your substrate (the material the mycelium grows in).
- Inoculate the substrate with your spawn or spore syringe under clean conditions.
- Allow colonization in a warm, dark space, typically 70 to 75°F (21 to 24°C), for 2 to 4 weeks depending on the species.
- Introduce fruiting conditions: higher humidity (85 to 95%), fresh air exchange, and indirect light.
- Harvest when caps are just before or at full opening, usually 5 to 10 days after pinning.
- Rest the block, maintain moisture, and wait for a second flush.
Indoors: the most controllable option
Indoor growing gives you control over temperature, humidity, and CO2 levels, which makes it the most reliable method for beginners. The most common indoor setups are monotub grows (a storage tub lined with colonized substrate) or fruiting chambers made from clear plastic totes with holes drilled for airflow. A basic humidity tent or Martha-style shelving unit with a ultrasonic humidifier gets most beginners to their first successful harvest. Expect to spend $50 to $150 to set up a functional beginner indoor space.
Outdoors: lower cost, less control
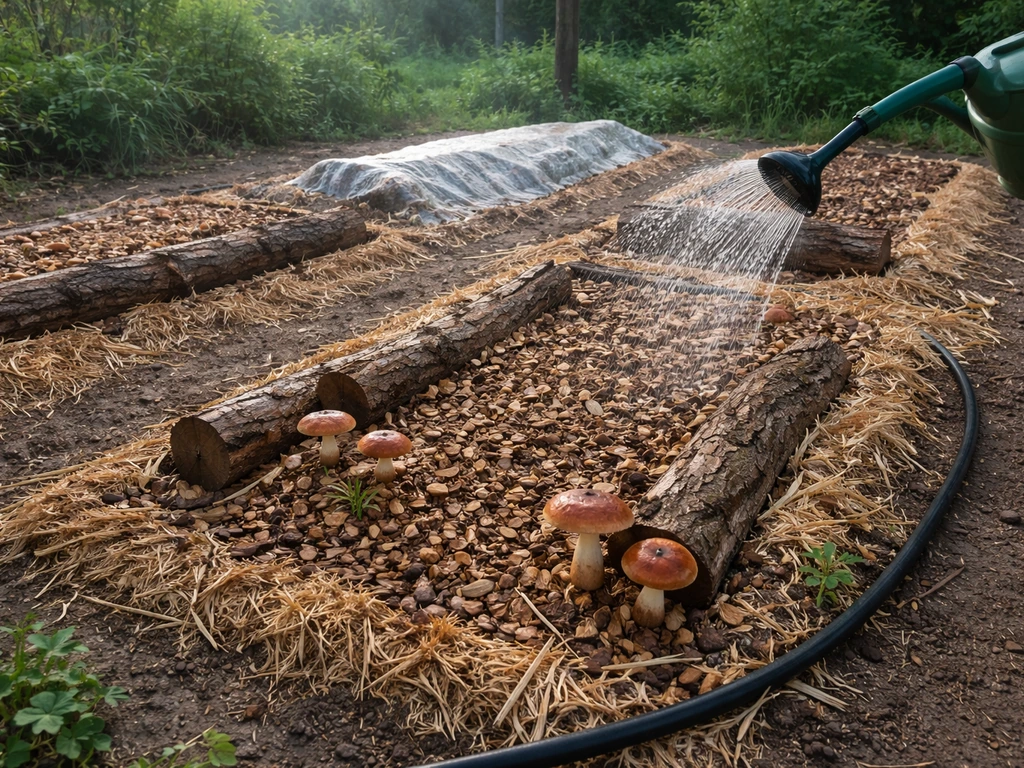
Outdoor growing works well for wood-loving species like wine caps (Stropharia rugosoannulata), oysters, or lion's mane on logs or wood chip beds. You're working with natural humidity and temperature swings, which means less hands-on maintenance but also more variability in your results. Inoculated logs take 6 to 18 months to colonize before they fruit, so patience is essential. The upside: once established, an outdoor bed can produce for years.
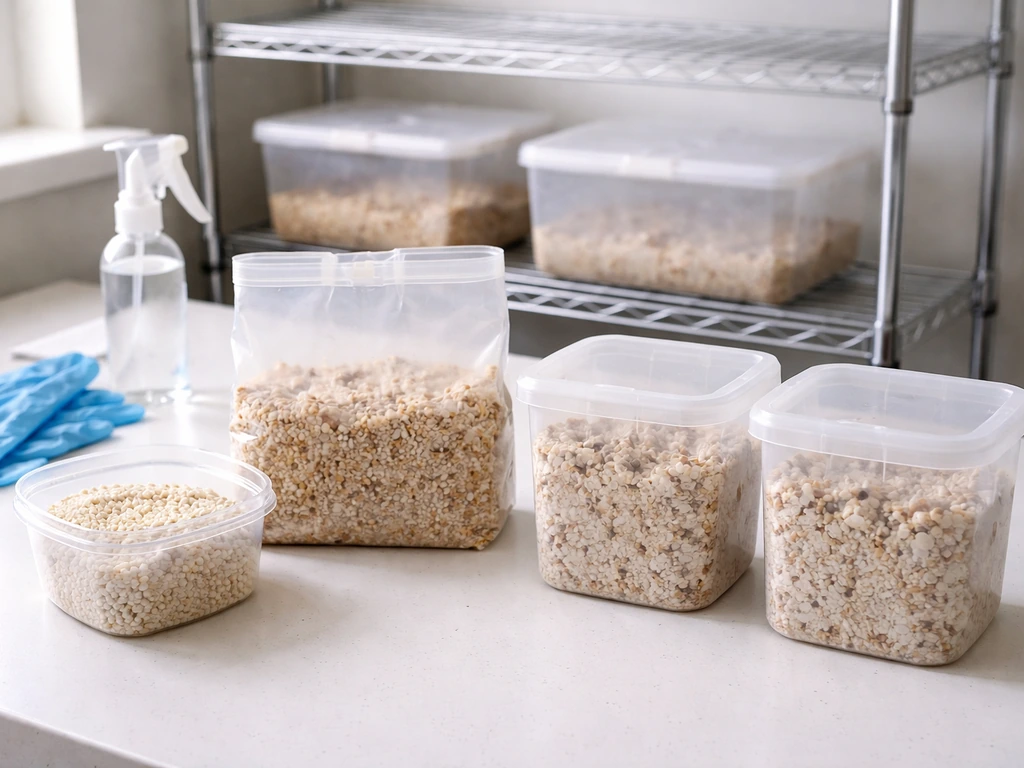
Gear you actually need
- Spawn or spore syringe from a reputable supplier (grain spawn is easiest for beginners)
- Substrate materials: hardwood sawdust, straw, coco coir, or a pre-made masters mix
- Sterilization equipment: a pressure cooker (15 PSI) for grain and hardwood substrates, or boiling water for straw pasteurization
- Polypropylene grow bags or mason jars for colonization
- Fruiting chamber: a large clear tote with drilled holes or a Martha tent setup
- Ultrasonic humidifier and a hygrometer to maintain 85 to 95% RH during fruiting
- Isopropyl alcohol (70%) and a still-air box or flow hood for cleaner inoculations
- Thermometer to monitor colonization and fruiting temps
Safer species to actually grow at home
This is where I'd point most people who come here with general curiosity about mushroom growing. There are edible and medicinal species that are genuinely fascinating to cultivate, productive, and far more rewarding than anything toxic. If what you meant was how to grow vicious mushrooms, that is not something a responsible home guide should cover. Here are the best options depending on your experience level.
| Species | Difficulty | Substrate | Timeline to First Harvest | Why Grow It |
|---|---|---|---|---|
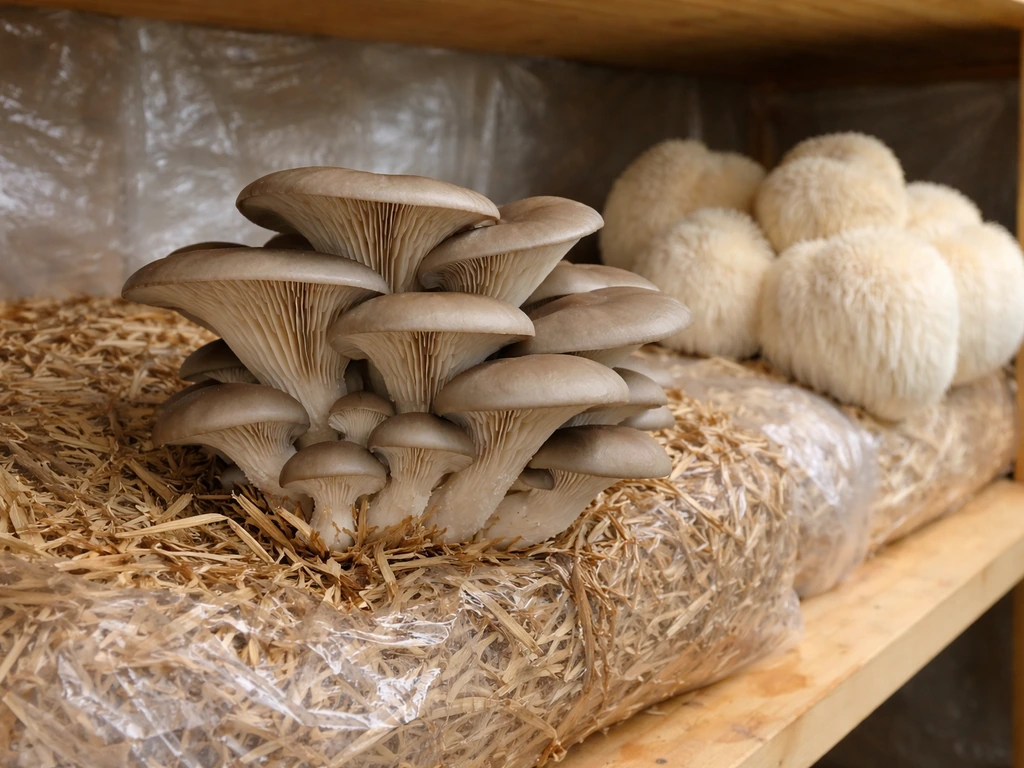
| Oyster mushrooms (Pleurotus ostreatus) | Beginner | Straw, cardboard, coffee grounds | 3 to 5 weeks | Fast, prolific, very forgiving |
| Shiitake (Lentinula edodes) | Beginner to intermediate | Hardwood logs or supplemented sawdust | 6 to 12 months (logs), 8 to 12 weeks (blocks) | Excellent flavor, good medicinal profile |
| Lion's mane (Hericium erinaceus) | Intermediate | Hardwood sawdust blocks | 4 to 8 weeks | Unique appearance, medicinal interest, great eating |
| Wine cap (Stropharia rugosoannulata) | Beginner (outdoor) | Wood chips, straw | 4 to 6 months | Easy outdoor bed, impressive yields |
| Reishi (Ganoderma lucidum) | Intermediate | Hardwood logs or sawdust | 3 to 6 months | Medicinal use, striking visual appearance |
| King oyster (Pleurotus eryngii) | Intermediate | Supplemented hardwood sawdust | 5 to 7 weeks | Dense, meaty texture, stores well |
My personal recommendation for a first grow is oyster mushrooms on straw. You can get a full colonization and harvest in under five weeks, the contamination risk is lower than with grain-based substrates, and the yield is genuinely impressive for the effort involved. Once you've done one successful oyster grow, you'll have the skills and confidence to move to more demanding species like lion's mane or shiitake. If you're drawn to wild or unusual varieties, exploring how to grow wild mushrooms in an outdoor bed setting is a natural next step from there.
Identification basics and what to do if toxic mushrooms appear
Even if you're not trying to grow toxic species, they can show up uninvited. If you're running an outdoor bed, wild mushrooms will occasionally fruit nearby or even within your grow area. Contaminated indoor substrates can occasionally produce unexpected fruiting bodies. Knowing how to handle this is part of being a responsible cultivator.
Identification basics every home grower should know
- Never eat a mushroom you cannot positively identify to species level. A general resemblance to an edible species is not enough.
- Learn the key identifying features of your target species: cap shape, gill attachment and color, spore print color, stem features (ring, volva), and smell.
- Know your dangerous lookalikes. Oysters can be confused with ghost fungi (Omphalotus nidiformis), which is toxic. Shiitake on logs has no dangerous lookalike, which is one reason it's a good starter species.
- Use multiple ID methods: physical characteristics, spore print, and habitat context together, not just visual appearance.
- iNaturalist, regional mushroom societies, and apps like Shroomify can help with field ID, but always cross-check with a printed regional field guide.
- When in doubt, throw it out. This is not a situation where uncertainty is acceptable.
If a suspicious mushroom appears in your grow
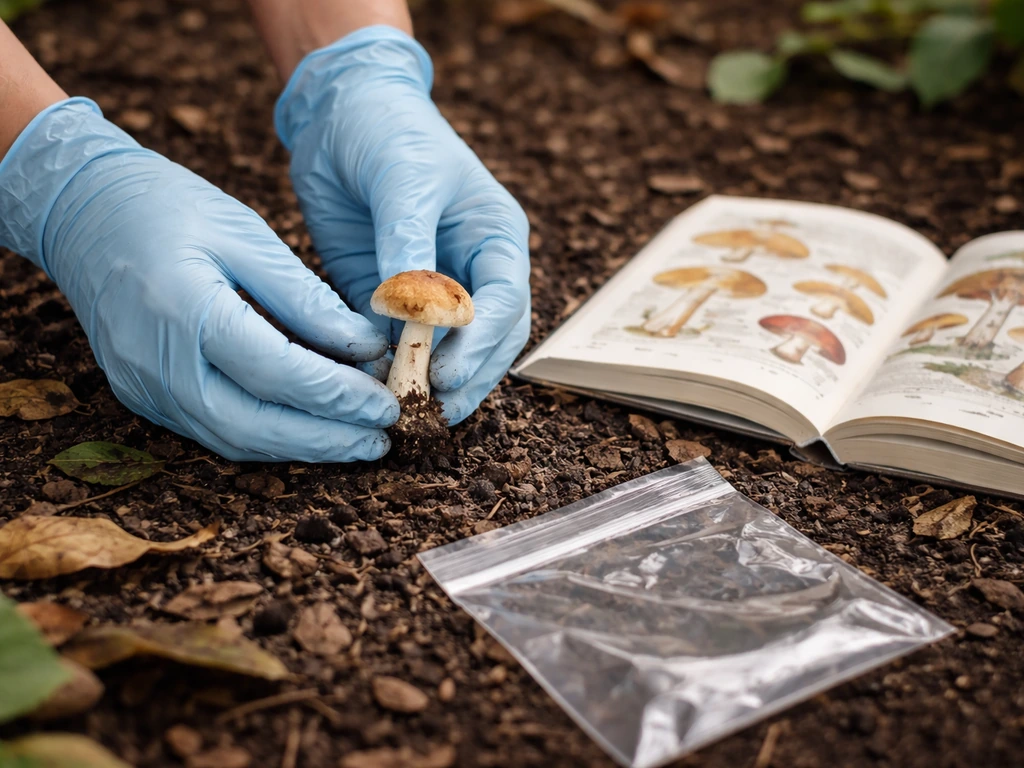
If you find an unexpected mushroom fruiting in an outdoor bed, do not handle it bare-handed until you've identified it. Wear gloves, remove it from the bed, and dispose of it away from your grow area. Photograph it thoroughly (cap top, gills or pores, stem, base including any volva, and the habitat) before disposal for ID purposes. Do not eat it, do not assume it's safe because it's near your cultivated species, and do not let children or pets near it. If you suspect accidental ingestion of a toxic species, call Poison Control immediately (in the U.S.: 1-800-222-1222). Time is critical with amatoxin poisoning in particular, where symptoms are delayed but damage is occurring before you feel sick.
If your goal is education or research: the right way to go about it
If you landed on this topic because you're genuinely interested in toxicology, mycology research, or studying poisonous species for educational reasons, that's a legitimate interest, and there are proper channels for it that don't involve a home setup.
In a research context, working with hazardous biological agents including toxic fungi requires institutional oversight, formal risk assessments, and in many jurisdictions, regulatory compliance. In the UK, this falls under COSHH regulations, which require documented hazard assessment and reporting procedures for any incident involving release of a hazardous agent. In the U.S. and elsewhere, university mycology departments, botanical gardens, and natural history museums maintain reference specimens and conduct controlled studies. These institutions have biosafety protocols, proper containment, and expert supervision built in.
If you want to learn about toxic mushroom species for educational purposes, the best path is to connect with a local or regional mycological society. Many run identification workshops, forays, and educational events where you can examine toxic specimens in a supervised setting. Organizations like the North American Mycological Association (NAMA) are a good starting point. Books like "Mushrooms Demystified" by David Arora or "The Audubon Society Field Guide to North American Mushrooms" give detailed profiles of both edible and toxic species with excellent photography.
The short version: education about toxic mushrooms is valuable and accessible through legitimate channels. A DIY home cultivation attempt is not the way to get there.
Troubleshooting common cultivation failures
Once you're running a real grow, most of the problems you'll hit fall into three categories: contamination, environmental issues, and disappointing yields. Here's how to diagnose and fix each one.
Contamination
Contamination is the most common issue, especially for newer growers. Green or black mold (usually Trichoderma or Aspergillus species) on your substrate means it's time to throw that block away. Do not try to scrape it off and continue. The contamination is typically throughout the block even if you can only see it in one spot. Prevention is the real answer here: sterilize grain and hardwood substrates at 15 PSI for 2.5 hours minimum, use a still-air box or flow hood for all inoculation work, wipe everything with 70% isopropyl alcohol before touching it, and work quickly during inoculation. Wet, sloppy technique is the primary cause of contaminated jars and bags.
Humidity and CO2 problems
If your pins are forming but aborting (stopping development before they develop into full mushrooms), the most likely culprits are low humidity or high CO2. During fruiting, you need 85 to 95% relative humidity and enough fresh air exchange to keep CO2 levels low (under 1,000 ppm is a reasonable target). In a small tote setup, opening the lid and fanning vigorously twice a day provides adequate air exchange for most species. Longer, thinner stems and small or absent caps are a classic sign of too much CO2. Cracked, dry-looking caps mean humidity is too low. A $15 digital hygrometer inside your fruiting chamber takes the guesswork out of humidity management.
Low yields or no second flush
If your first flush was thin, the substrate may have been under-colonized when you initiated fruiting (give it an extra week next time), or the substrate composition was off for your species. After your first flush, dunk your block in cold water for 12 to 24 hours (called dunking or rehydrating) to restore moisture before initiating the second flush. Most blocks will produce 2 to 4 flushes before exhausting themselves, with the second and third flushes often being the heaviest. If you're getting nothing after two rests, the block is spent and ready for the compost pile.
Pinning won't start
Some species need specific triggers to initiate pinning. Oysters respond well to a cold shock (move the block to a cooler location, around 60 to 65°F, for 12 to 24 hours). Shiitake blocks often need a harder cold-water soak and surface scoring. Lion's mane usually pins on its own if humidity and airflow are right but may need a temperature drop to initiate. Always check species-specific fruiting triggers rather than assuming one approach works for everything.
Your next steps
If you've read this far, you now have a clear picture of why growing poisonous mushrooms at home is a path worth avoiding entirely, and you also have a solid framework for doing mushroom cultivation the right way. Pick a beginner-friendly species like oyster mushrooms, source quality spawn from a reputable supplier, set up a simple fruiting chamber, and follow the colonization and fruiting workflow outlined above. If you're curious about more unusual fungi, you can explore how to grow plastic-eating mushrooms through reputable research and safety-first guidance rather than casual home experiments. Get one successful grow under your belt before moving to more demanding species. If you are specifically looking at how to grow Volvariella mushroom, the conditions and substrate choices are different from common oyster-style grows, so start by matching the setup to that species. If your interest is more in wild or unusual varieties, outdoor bed growing and mycological society forays are a great complement to indoor cultivation. And if contamination, humidity, or yield issues come up, you now know exactly what to look for and how to fix it.
FAQ
If I find an unexpected mushroom growing near my edible grow, should I just check it quickly and eat it?
Yes, and it is a red flag. A mushroom that appears “different” or grows right next to an edible species is still not something to identify by appearance alone, because lookalikes can share habitat and timing. Use gloves, photograph multiple angles (including gills or pores and the stem base), remove it from the area, and keep people and pets away until a competent ID is done.
What’s the safest way to decide whether an unknown mushroom is edible or poisonous?
Use a decision pause: if you cannot confidently identify it to species level from reliable features, treat it as unsafe. For home grown setups, that means disposal is the default. Do not “taste test” or try small bites, and do not rely on color changes, smell, or whether insects are eating it.
What should I do if someone might have eaten an unknown mushroom from my yard or grow area?
Time matters. If ingestion is suspected, contact Poison Control immediately (U.S. 1-800-222-1222) and share when it was eaten, estimated amount, and photos. For amatoxin-type poisoning, symptoms can be delayed, but organ damage can start early, so waiting for symptoms is dangerous.
My pins started forming then stopped, what is the fastest way to troubleshoot humidity versus CO2?
Low humidity and high CO2 can both cause aborted pins, so measure before you change everything. Put a hygrometer in the fruiting space and target 85 to 95% RH, then confirm fresh air exchange by watching for overly long, thin stems and closed or collapsing caps. If symptoms persist, increase fresh air exchange first before adding more moisture.
Does dunking a block for the next flush always help, and how do I avoid making it worse?
Yes, and it changes results. A dunk step can improve moisture for the next flush, but only if you rehydrate fully and drain well afterward. If your block stays waterlogged, you can increase bacterial issues and reduce oxygen at the surface, leading to weaker flushes. Aim for rehydration time, then let it drip and reintroduce fruiting conditions.
Can I use the same fruiting trigger for every species if my humidity and airflow seem right?
Not exactly. Some species fruit best with different triggers, but you can still use consistent “control points,” like maintaining stable RH and CO2 in the fruiting chamber. If you keep your environment steady and only change one trigger at a time (like a short cold shock), you can tell whether the trigger or the baseline conditions are the cause.
If only part of a substrate shows mold, can I scrape it off and keep the block?
Scraping is a common mistake. Mold often spreads microscopically throughout the substrate, even when it looks localized, so reusing or “saving” contaminated blocks usually wastes time and can spread spores. The safer approach is to discard the affected batch away from your other grows and sanitize surfaces before starting again.
What are the most common technique mistakes that cause contamination even when I think I’m sterilizing correctly?
A simple prevention checklist helps: sanitize hands and tools, limit talking and movement during inoculation, work quickly in a still-air box, and keep sterile steps separated from “dirty” handling. Also, do not reuse tubs or tools that were exposed to contaminated material without thorough cleaning and disinfection.
My blocks won’t fruit anymore, when should I stop troubleshooting and retire them?
If you are getting nothing after two flush attempts, assume the block is finished and switch tasks instead of experimenting endlessly. At that point, the block is usually depleted or under-colonized, and repeated rehydration or changing humidity settings is unlikely to restore productivity.
What’s the easiest learning path if I’m trying to minimize uncertainty in timing and yield?
It depends on the species and substrate type. Straw grows are often faster and more forgiving for beginners, while hardwood log colonization is slow and can be variable due to weather. If your goal is learning with less uncertainty, choose a beginner-friendly species and a substrate that matches your timeline and local conditions.
How do I manage the risk of wild mushrooms showing up in my outdoor bed?
Yes, especially outdoors. Weather swings can drive unusual fruiting patterns, and wild mushrooms can occasionally appear within or near cultivated areas. Treat your grow space like an “identified zone,” keep disposal practices nearby (bags and gloves), and schedule quick visual checks during peak fruiting times.