
Black morels can be grown at home, but you need to go in with clear eyes: these are among the most challenging mushrooms to cultivate reliably, and even experienced growers get humbled by them. The most realistic path is an outdoor woodland-mimic bed inoculated with quality spawn, kept in the right temperature and moisture window, and triggered into fruiting with a cold-water induction step in early spring. Indoor fruiting is possible but requires multi-phase management and has a high failure rate without proper environmental controls. If you set up correctly, you can reasonably expect your first fruiting bodies in roughly 90 to 110 days from spawn sowing under good conditions, and you can build on that bed year after year.
How to Grow Black Morels: Step-by-Step Fruiting Guide
Marcus Holloway
28 May 2026
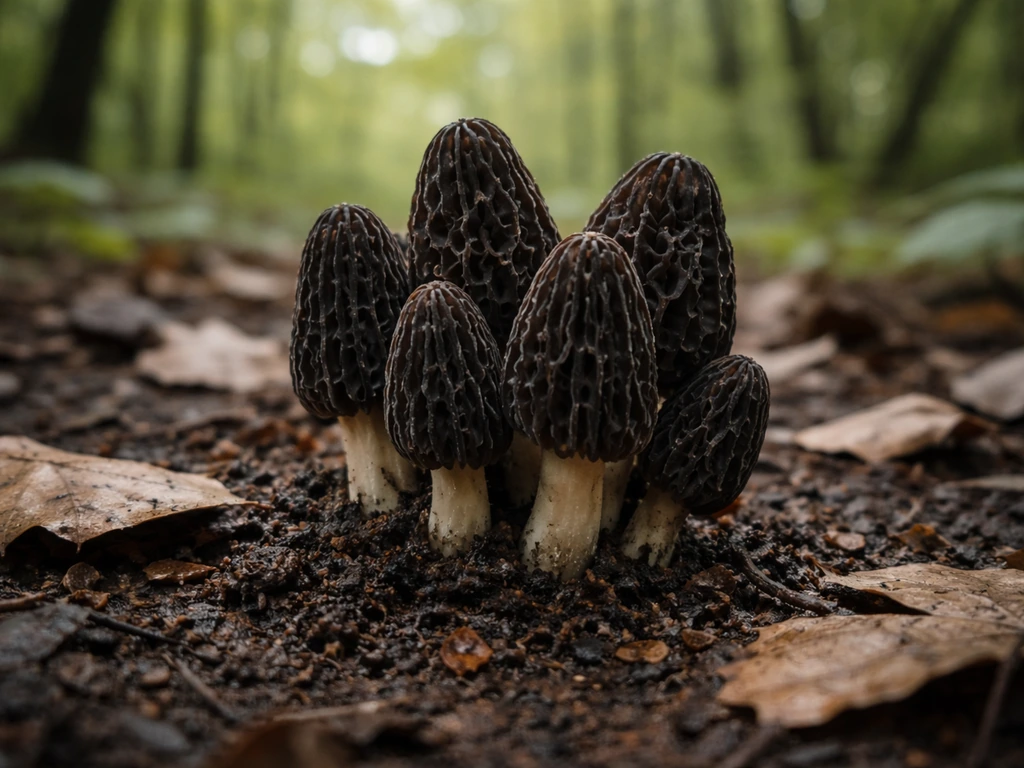
What black morels actually are (and why they're tricky)
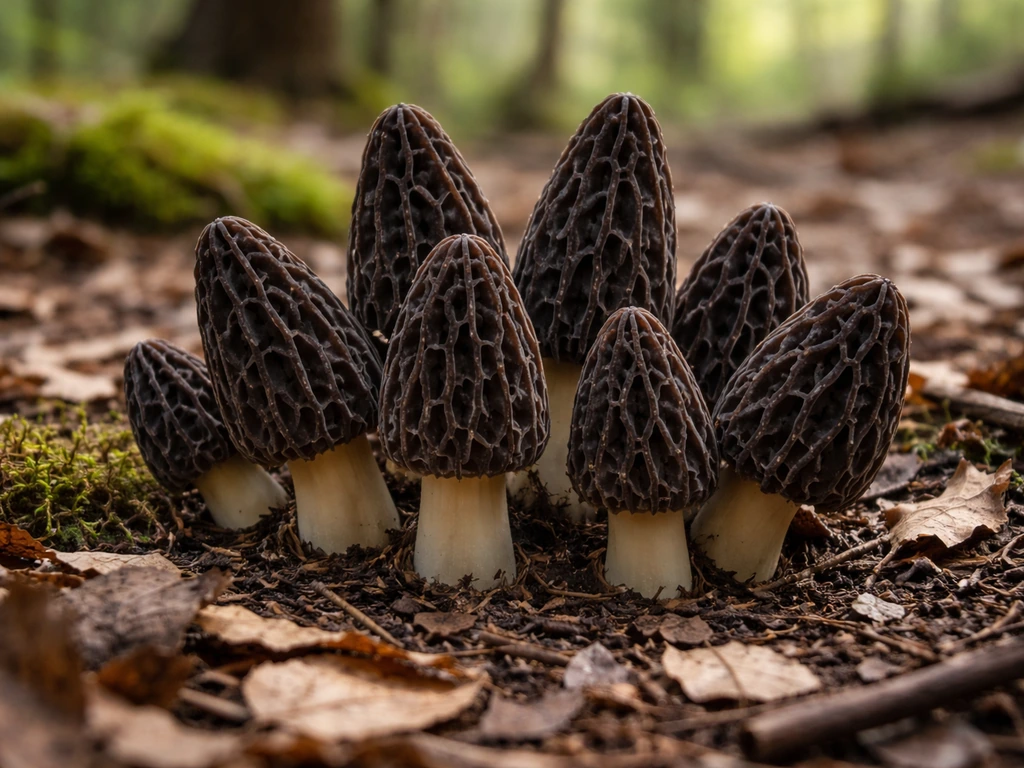
"Black morel" isn't a single species. It's a species complex within the genus Morchella, most commonly referring to Morchella elata and closely related lineages, including Morchella importuna, which is one of the more successfully cultivated North American black morels. DNA-based taxonomy has shown that North American black morels are largely distinct from European ones, which matters practically: if you're buying spawn or spores, get material sourced from your own region. Using the wrong lineage for your climate and soil microbiome is one of the less obvious reasons beds fail to fruit.
The complexity comes down to the life cycle. Unlike oyster mushrooms or shiitake, which fruit fairly predictably once mycelium colonizes a substrate, morels go through multiple pre-fruiting stages including sclerotia formation and conidiation before ascomata (the actual fruiting bodies) ever develop. That means "nothing is happening" above ground for weeks or months while the fungus is completing mandatory underground stages. Skipping or rushing any stage is a major failure point. Set your expectations accordingly: this is a project that rewards patience and careful observation more than any other mushroom you'll grow.
Setting up the right outdoor conditions
Outdoor woodland-mimic beds are the most practical and most successful approach for home growers. The goal is to recreate the soil environment where black morels naturally thrive: dappled shade, a rich but well-drained soil profile, organic matter at the surface, and a soil ecosystem with living microbial communities. Research on Morchella importuna specifically highlights that the soil microbiota, not just the physical substrate, is critical to fruiting. Research on Morchella importuna also emphasizes that microbiota succession in the substrate drives successful fructification Morchella importuna specifically highlights that the soil microbiota, not just the physical substrate, is critical to fruiting.. You can't just sterilize garden soil and call it done. You need living, biologically active ground.
Choosing your site
- Partial to dappled shade: under deciduous trees (elm, ash, apple, and poplar are traditional morel companions) is ideal, but a shaded north-facing bed works too
- Well-drained soil: morels will not tolerate waterlogged ground; raised beds or slightly sloped areas are better than flat low-lying spots
- Proximity to wood: buried wood chips, decomposing bark, or rotting logs nearby provide carbon and support beneficial microbiota
- Avoid areas treated with herbicides or synthetic fertilizers recently, as these disrupt the soil microbial community your morels depend on
- Soil pH should be slightly acidic to neutral, roughly 6.5 to 7.5; test your soil before inoculating and amend with lime if it's too acidic
Building the woodland mimic bed
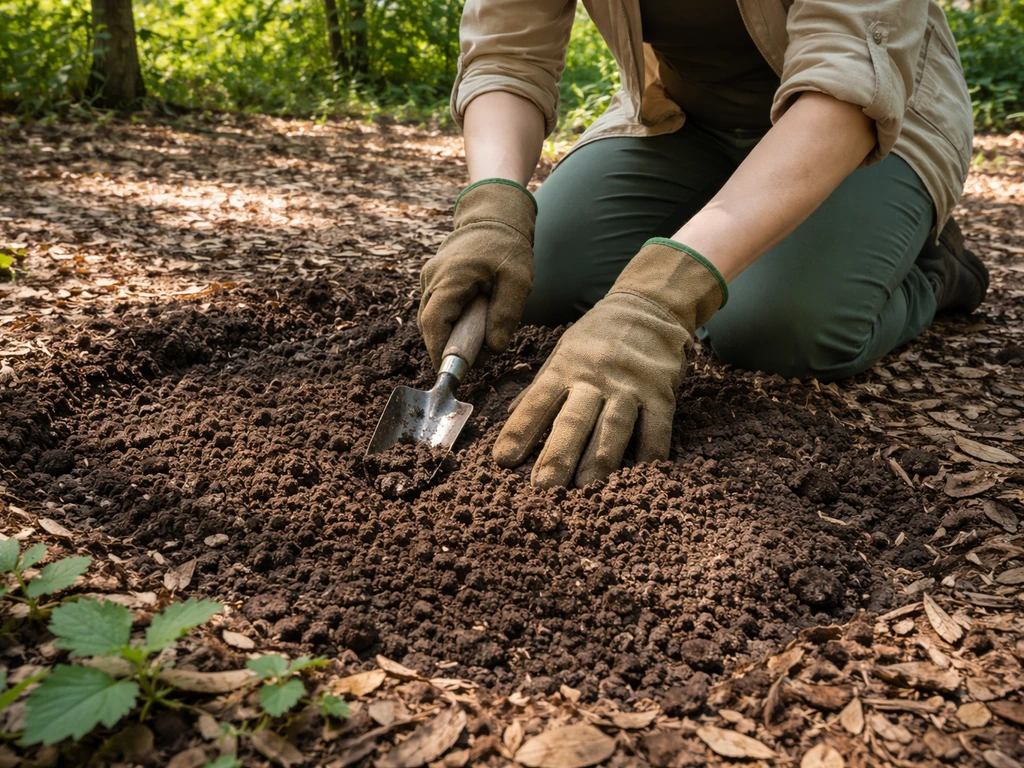
Dig or loosen the top 6 to 8 inches of soil. Mix in aged hardwood chips, finished compost (not fresh manure), and a small amount of wood ash if your pH is low. The goal is a loose, organically rich, well-aerated layer. Research using semi-synthetic substrates for Morchella importuna found that quartz particles mixed with compost partially mimicked this structure, but even then, natural soil microbiota still drove successful fruiting. That tells you that importing some living soil from a healthy woodland edge, or adding a thin layer of forest duff as a top dressing, genuinely improves your odds. Don't skip this step if you can help it.
Indoor and controlled growing: what's actually feasible
Let me be honest with you: reliable indoor black morel fruiting is genuinely hard. The first documented indoor cultivation was published in 1982 (Ower's method), and it required separating the grow into distinct phases: sclerotia/primordia development in one environment, then ascomata stimulation in another with a specific induction trigger. Commercial operators use multi-stage greenhouse systems with sensors logging illumination, air temperature, air humidity, oxygen, CO2, soil temperature, and soil water content every 10 minutes. That's not something you replicate with a fruiting chamber and a spray bottle.
That said, a greenhouse or cold frame setup is meaningfully more feasible than a pure indoor grow room. If you have a greenhouse, you can control the environment closely enough to attempt controlled cultivation using the same principles as outdoor beds, with the added benefit of managing temperature and moisture more precisely. Target soil temperature of 6 to 20 degrees Celsius, soil moisture at 20 to 28%, and air relative humidity between 60 and 80%. These are the parameters pulled from greenhouse cultivation studies with Morchella, and they represent a realistic target range rather than a single magic number.
Spores vs spawn: what to buy and where to start
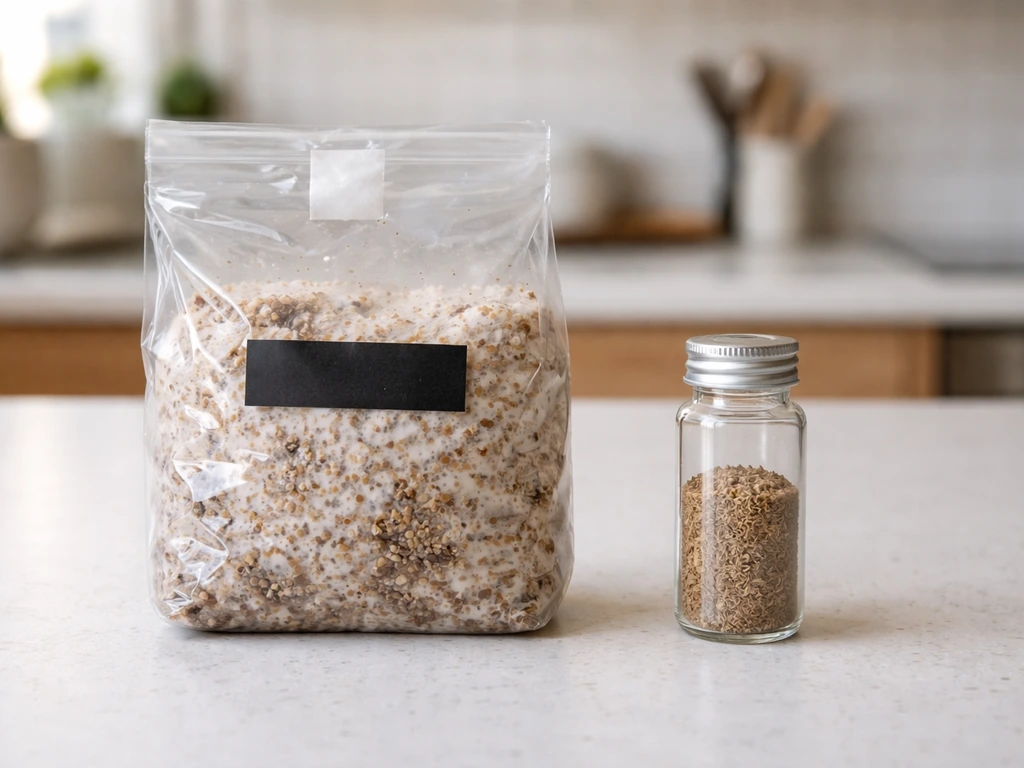
Spawn is almost always the better starting point for home growers, especially beginners. Morel spore germination is erratic and requires specific conditions that are difficult to control without lab equipment. Spawn, particularly grain spawn or a multi-stage "field spawn" product developed specifically for Morchella importuna or related black morels, gives you a head start because the mycelium is already established and has a much higher success rate in establishing in your bed. If you are curious about other challenging woodland fungi, you can also learn how to grow pine mushrooms with the right substrate and temperature cues.
Sourcing recommendations
- Buy spawn from a reputable supplier that specifies the species (look for Morchella importuna or a labeled black morel strain, not just "morel")
- Confirm the strain is from your geographic region if possible: North American and European strains are taxonomically distinct
- Avoid generic "morel spore kits" with no species information: these are hit or miss and rarely worth the price
- If you want to try spores anyway, soak them in cold water for 12 to 24 hours before application to the bed surface, but expect a lower and slower establishment rate than spawn
- Some suppliers sell "field cultivation kits" that include pre-inoculated nutrient bags alongside spawn, similar to the external nutrition bag (ENB) methods used in commercial Morchella importuna production
Commercial cultivation often uses sterilized wheat/sawdust/soil spawn blends (sterilized at 121 degrees Celsius for 120 minutes in research settings) to produce the seed material. You don't need to replicate this exactly at home, but it explains why commercially prepared spawn performs better than DIY grain inoculation attempts for this particular species. If budget allows, buy quality spawn rather than trying to make your own until you've had a successful season first.
Preparing your substrate and inoculating the bed
Substrate preparation for black morels is more involved than for most edible mushrooms because the soil chemistry and biology both matter for fruiting, not just for mycelial growth. Research has shown that soil pH and nutrient availability shift across the morel life cycle, and that nitrogen and organic matter support early mycelial expansion while nutrient depletion and pH changes later in the cycle appear to be involved in triggering fruiting. That means you want a reasonably nutrient-rich starting environment, but you should avoid heavy continuous feeding, as that can keep the mycelium in a vegetative growth mode rather than transitioning to fruiting.
- Clear the bed area of weeds and debris, then loosen the soil to 6 to 8 inches depth
- Amend with a mix of aged hardwood chips (50%), finished compost (30%), and native topsoil or forest duff (20%)
- Test and adjust pH to 6.5 to 7.5 using lime (to raise) or sulfur (to lower)
- Lightly water the bed so it's moist but not waterlogged: squeeze a handful and it should hold shape but not drip
- Distribute spawn evenly across the surface at roughly 1 spawn unit per square foot, then rake or gently mix it into the top 2 to 3 inches of soil
- If using external nutrient bags (available from some cultivation suppliers), bury them at about 3 cm depth near the spawn at the time of inoculation: these slowly release nutrients and support mycelial establishment in the critical early weeks
- Top-dress the inoculated area with 1 to 2 inches of straw or leaf litter to retain moisture and moderate soil temperature
- Mark the bed perimeter so you don't disturb it during the establishment phase
Watering, temperature, and how to trigger fruiting
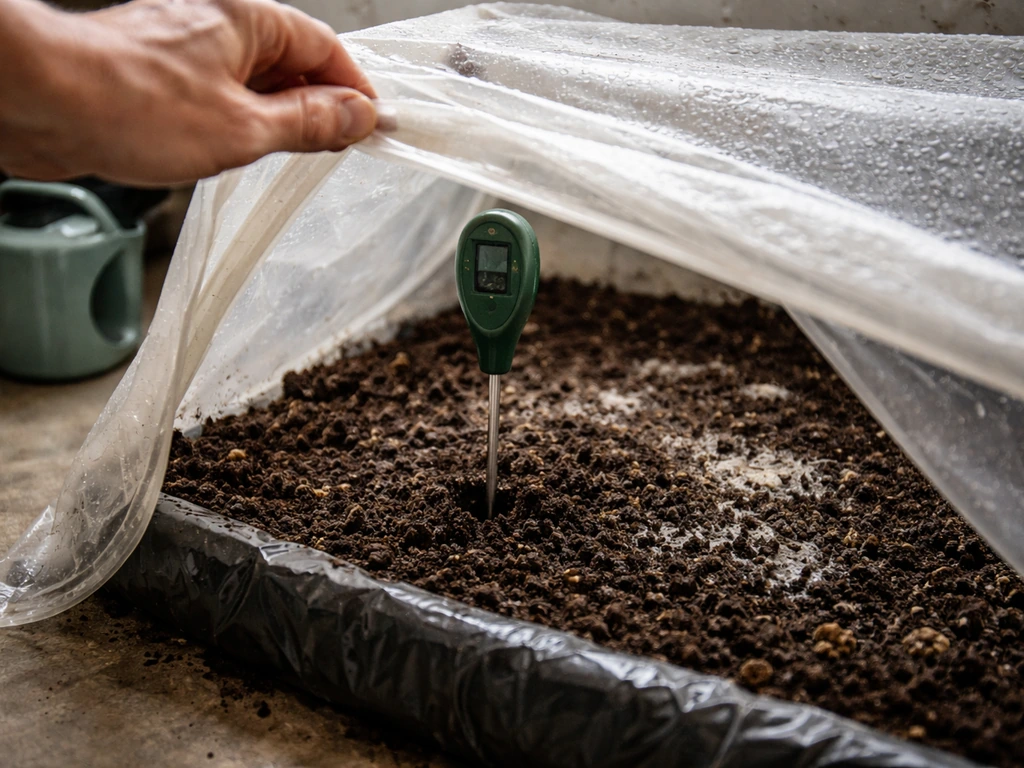
Moisture management is where most home grows either succeed or fail. Morels want consistent soil moisture without waterlogging. The target range is 20 to 28% volumetric water content in the top soil layer. In practical terms, the surface should feel moist to the touch but never soggy, and you should never see standing water in or around the bed. A micro-spray or gentle spray-band irrigation system is better than overhead watering with a hose, which can compact the surface and disrupt the mycelial mat. Water in the early morning when possible to avoid temperature extremes during irrigation.
Temperature matters across two distinct windows. During the mycelial establishment phase, soil temperatures between 10 and 18 degrees Celsius support healthy growth. As you approach the fruiting trigger window, the soil needs to have experienced a cold period (mimicking late winter) followed by warming.
The documented induction trigger used in cultivation systems is a cold-water saturation event: in early spring, when daytime air temperatures are regularly reaching 10 to 15 degrees Celsius but nights are still dropping below 7 degrees, irrigate the bed heavily with cold water (ideally 4 to 8 degrees Celsius). This simulates snowmelt or a cold spring rain and sends the signal to transition from vegetative growth to fruiting.
Do this once or twice over three to five days and then return to your normal gentle moisture maintenance.
What to monitor week by week
- Weeks 1 to 4 post-inoculation: check soil moisture every 2 to 3 days and water lightly if the top inch is drying out; no visible above-ground activity is completely normal
- Weeks 4 to 8: look for early mycelial threads visible when you gently scrape back the top dressing; this is a good sign but still no fruiting yet
- Weeks 8 to 12 and beyond: the bed is approaching readiness for the cold-water induction trigger as outdoor temperatures begin cycling through the cold/warm pattern of early spring
- After induction: check daily for pins, which will appear as tiny honeycomb-capped nubs often emerging near wood chip fragments or the edges of nutrient bag placements
- Track soil temperature with a cheap probe thermometer: this single variable predicts fruiting timing better than air temperature alone
Harvesting, realistic yields, and what goes wrong
Harvesting
Harvest black morels when the cap is fully formed and before it starts to look hollow or begins to dry at the edges. Cut at the base with a clean knife rather than pulling, which disturbs the mycelium below. A well-established bed can produce multiple harvests in a single season rather than one single flush, similar to how commercial rotation-system cultivation is structured. Don't strip the bed on the first pass: let smaller pins mature over the following days. After the season, mulch the bed back down and let it rest.
Realistic yields
Expect modest yields in your first season, especially if you're working from scratch. Under documented good conditions, Morchella importuna takes around 102 days from spawn sowing to mature fruiting bodies. First-year beds often produce less than established second or third-year beds, because the soil microbiome and mycelial network need time to develop. Don't judge your setup by year one. If you get any fruiting at all in year one, that's a success. Year two is usually when things get genuinely rewarding.
Troubleshooting common failures
| Problem | Most likely cause | Fix |
|---|---|---|
| No visible mycelial growth after 6 weeks | Spawn quality too low, soil too wet, or pH out of range | Check soil moisture (squeeze test), retest pH, and consider re-inoculating with fresh spawn from a different supplier |
| Mycelium established but no pins after induction | Cold-water induction was too warm, too brief, or the bed is missing the right temperature cycle | Repeat cold-water saturation with colder water (4 to 6 degrees C); ensure nighttime soil temps are still dropping below 7 degrees before and during induction |
| Mold or green/white contamination on bed surface | Overwatering, poor drainage, or lack of air circulation | Reduce watering frequency, improve drainage around bed edges, and increase top-dressing ventilation; do not try to apply fungicide |
| Pins appear but dry out before maturing | Surface humidity too low or irrigation hit the pins directly | Add a shade cloth layer, switch to perimeter irrigation only (not overhead), and mulch lightly around emerging pins |
| Bed produced well in year one, nothing in year two | Continuous cropping acidified the soil and increased pathogenic fungi | Test and re-amend pH, add fresh compost and a thin layer of forest duff, and rest the bed for several weeks before re-inoculating with fresh spawn |
| Very uneven fruiting across the bed | Inconsistent moisture, spawn distribution issues, or nutrient bag placement too clustered | Improve irrigation coverage and consider adding supplemental nutrient bags at sparse areas next season |
Timelines, building on success, and your next steps
The realistic timeline from inoculation to first harvest under solid conditions is 90 to 110 days, with that clock starting in late summer or autumn so fruiting falls in early spring when outdoor temperature cycles deliver your natural cold/warm trigger. If you're reading this in late May and want to set up for next spring, you're actually in a good position: prepare your bed now, inoculate by late summer when spawn is available, and let the bed overwinter naturally. The cold of winter does a lot of the induction work for you in outdoor beds.
Sustainability across seasons comes down to soil health. Avoid over-harvesting, re-amend with compost and hardwood chips each autumn, check and correct pH annually, and rotate the planting position within your bed if you can. Research on continuous greenhouse cropping has shown that repeated seasons in the same soil without amendment leads to acidification, increased pathogen populations, and declining yields. Treating your morel bed like a garden bed that needs annual care will keep it productive for multiple years.
Your concrete action plan from today: identify your site and test the soil pH this week, order Morchella importuna spawn from a reputable supplier specifying North American strain origin, and begin building your woodland-mimic bed over the next few weeks. Once your site and pH are sorted, you can follow a step-by-step routine to grow black poplar mushrooms reliably across seasons.
Set a calendar reminder for late August to inoculate, another for late February to begin cold-water induction monitoring, and plan your first harvest check for April. That single seasonal loop, done well, will teach you more about black morel cultivation than any amount of reading. If you want the full practical process, follow this guide on how to grow parashrooms from start to finish.
The growers who succeed with morels are the ones who run it through once, learn from what they see, and iterate. Everything about this species rewards the patient, observant grower over the optimistic one who just wants fast results.
If you're also exploring other specialty species alongside this project, the ecosystem-dependent cultivation approach used for black morels shares some similarities with growing other wild-type and woodland-associated species. Parasol mushrooms have their own specific temperature and moisture preferences too, so once you’re ready you can compare these outdoor bed practices with how to grow parasol mushrooms other specialty species. The core lesson transfers: match your substrate and environment to the natural ecology of the fungus, and you'll get much further than any generic grow kit can take you.
FAQ
My bed looks healthy but produces no mushrooms, how long should I wait before changing anything?
Not usually. With black morels, “I don’t see pins” often means the underground stages are still completing, especially in new beds. Wait through the full induction to fruiting window in early spring, and only adjust one variable at a time (typically moisture or pH), otherwise you can interrupt the transition you are trying to trigger.
How often should I test and correct soil pH for black morels, and when is too late?
Test pH before you add amendments, then verify again after a few weeks. Soil pH can drift after compost incorporation, and black morels can be sensitive to both acidity and liming changes. If you corrected pH late, do it well before the cold-water induction period so you do not shock the bed.
Can I use richer compost or add fertilizer to boost mycelium growth?
Yes, compost can cause problems if it is too “hot” or too nitrogen-rich. Use finished compost and avoid fresh manure entirely. Also keep a consistent amendment layer rather than repeatedly top-dressing heavy feed, because later-stage fruiting is associated with nutrient depletion and pH shifts.
What are the signs my moisture is too high, and what should I do?
Overwatering is a top failure mode. Stick to the surface being moist, not wet, and avoid standing water. If water puddles after irrigation, reduce irrigation frequency and switch to a gentle band or micro-spray approach that wets the top layer without compacting or saturating the bed.
When exactly should I do the cold-water induction, and how do I know the weather window is right?
Don’t rely on “time” alone, use temperature cues. The induction works when the day warms into the 10 to 15 C range but nights still drop below about 7 C, then you do one or two cold-water saturation events (about 4 to 8 C) over several days, followed by normal maintenance.
Is there a downside to using very cold water or doing the induction too many times?
Cold water should be cold, not shock-ice. Extremely cold or very frequent saturation can disrupt the soil mat. Also, irrigate early in the day when possible so the bed does not swing temperature rapidly overnight.
How can I measure temperature correctly, and what if my air temperature is warmer than expected?
Check soil temperature at the depth your bed is actually inoculated, not just air temperature. A handheld probe placed into the top 6 to 8 inches gives a better picture for both establishment (roughly 10 to 18 C) and for whether the bed has experienced a true cold period before warming.
How do I avoid buying the wrong black morel strain for my area?
Lineage mismatch is a silent killer. When ordering spawn, confirm it is the correct North American black morel type for your region, and ask what species or complex it is derived from. Even within black morels, European and North American lineages do not perform similarly in many climates.
If year one fails, what is the most sensible troubleshooting approach?
Usually by learning from each season. Keep notes on moisture schedule, induction dates, pH readings, and whether you saw pins that stalled. Then make only one change next spring, commonly adjusting moisture management method (banding vs overhead) or refining pH corrections.
Can I harvest all at once, or should I do multiple passes?
Yes. Harvest by cutting cleanly and let smaller pins mature. Avoid stripping the bed, because you can damage the mycelial network and reduce later fruiting. If you see a flush tapering, do not assume the bed is done, it can run again over the next days depending on temperature and moisture.
What should I do to maintain the bed after the harvest season ends?
A good practice is to reapply a thin organic top dressing after the season, then avoid turning the bed aggressively. Re-mulching helps restore the woodland edge structure and microbial habitat. Correct pH annually rather than mid-season to prevent disrupting fruiting.
What common pests or disturbances can ruin a morel bed, and how do I prevent them?
For backyard beds, wildlife and trampling are common. Protect the area with low, breathable barriers (for example, mesh fencing) if you have deer or pets, because repeated disturbance can break the surface mat and compact soil.
What happens if I inoculate later than the recommended late-summer window?
If you inoculate too early, the bed may stay in vegetative growth longer and never transition on schedule. If you miss the typical inoculation window and you are far into late fall, prioritize good overwinter conditions and plan to treat the first spring as a discovery year rather than expecting a full crop.
Do I need to protect the bed from winter cold or freezing?
If it is in-ground, freezing and thawing are part of the natural induction cycle. The risk is usually drying out during winter or soil compaction from foot traffic. Keep the bed mulched, avoid walking on it, and focus on keeping the site biologically stable rather than trying to “protect” it from winter entirely.